Old attic insulation can cause more problems than people think. It traps dust, holds moisture, and sometimes hides mold or pests.
This guide walks you through everything I learned while removing my own attic insulation, from the tools I used to the mistakes I made along the way.
You will learn how to check your attic before starting, what tools and safety gear you actually need, and the full step-by-step process I followed.
I will also cover common costs, the biggest challenges I faced, and what to do once the old insulation is gone.
I am not a contractor. I am a homeowner who did this project myself and learned a lot in the process.
If you are planning the same job, this should save you time, money, and a few headaches.
Why I Decided to Tackle Attic Insulation Removal
A quick look at the reason behind starting this project myself.
My attic insulation was old, dusty, and clearly past its useful life. I noticed higher energy bills and some musty smells coming from the vents.
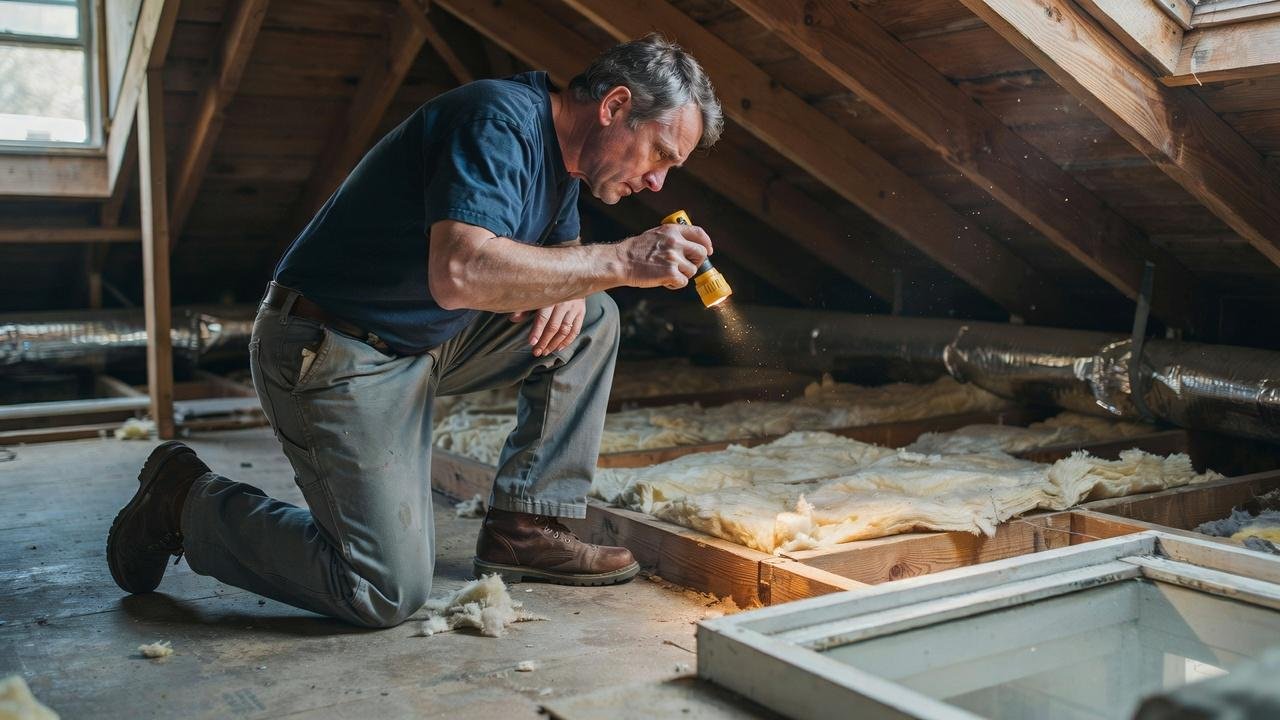
After a quick inspection, I found dirty, compressed insulation that was no longer doing its job. I decided removing it myself would save money and give me a chance to check for hidden damage.
It also gave me full control over the timeline instead of waiting on a contractor's schedule.
What Homeowners Should Check Before Attic Insulation Removal
A few key checks to do before you touch anything in the attic.
Identifying the Type of Existing Insulation
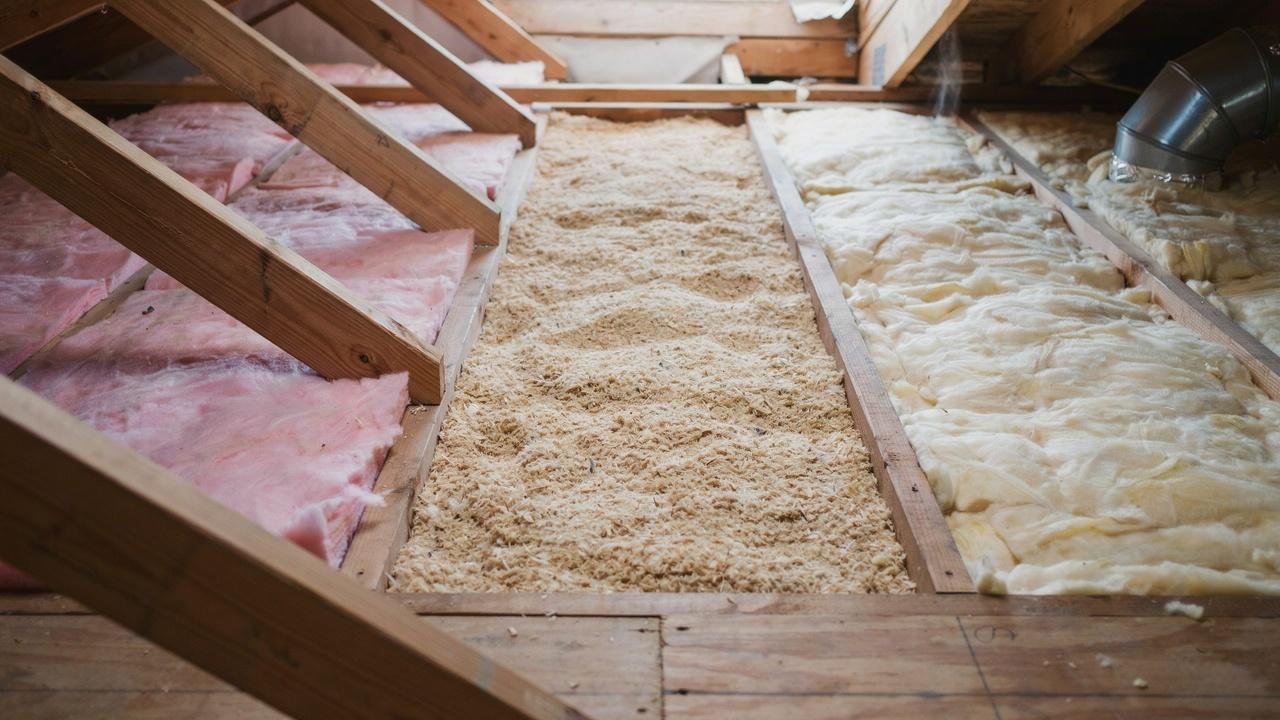
Insulation usually comes as fiberglass batts, loose-fill, or blown-in material. Knowing the type changes how you remove it and what gear you need. Loose-fill needs a vacuum, while batts can be rolled and bagged by hand. Mixing up your approach can slow you down or create more mess than necessary.
Looking for Mold, Moisture, and Pest Damage
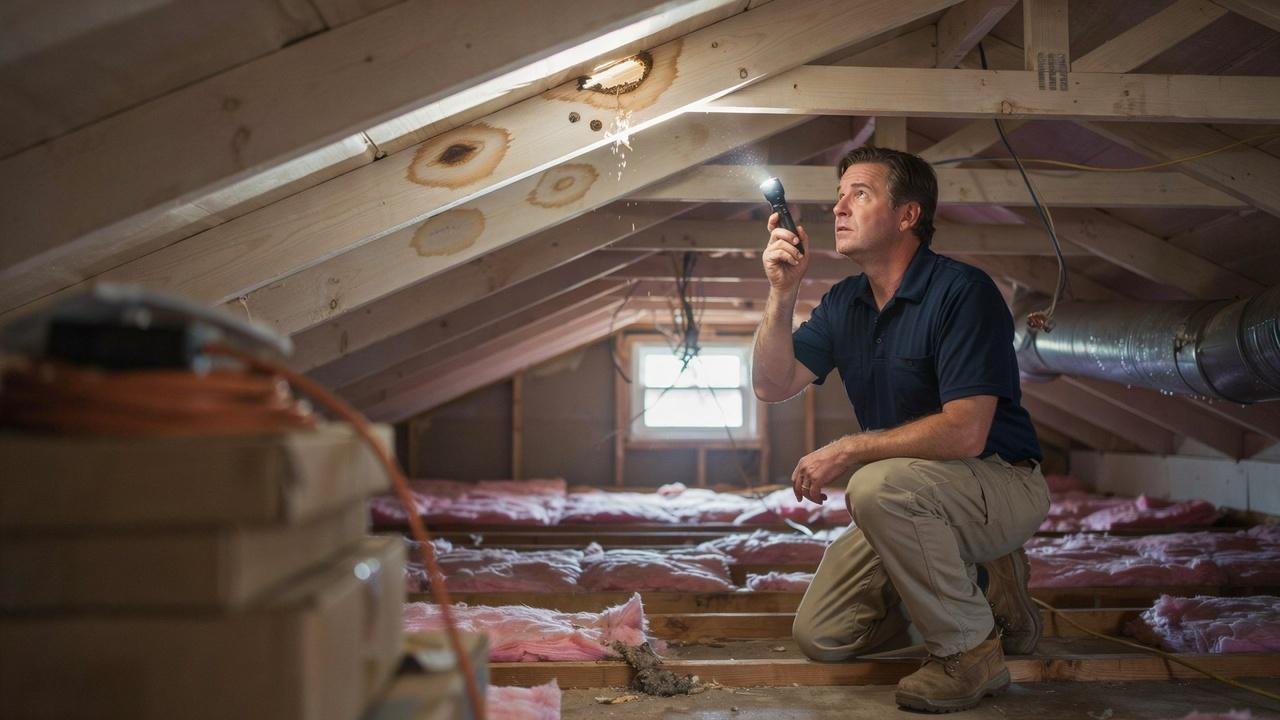
Check for dark stains, a musty smell, or droppings. These signs often mean bigger problems beyond just old insulation. Mold usually points to a moisture source like a roof leak or poor ventilation. Pest damage may mean chewed wiring or nesting material hidden under the insulation layer.
Knowing When Professional Testing Is Necessary
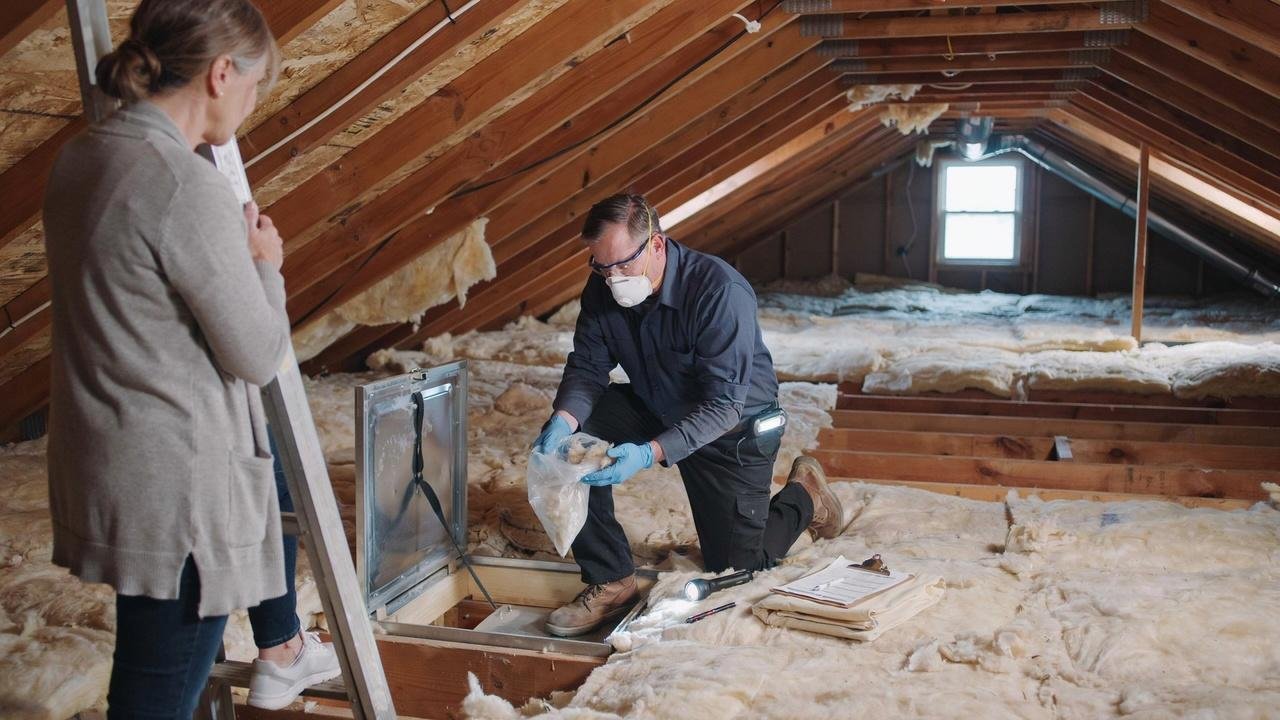
Older homes may have asbestos in insulation. If you suspect this, stop and get the material tested before doing anything else. Homes built before the 1990s carry a higher risk, especially with certain types of loose-fill insulation. Testing is quick and far cheaper than dealing with health problems later.
Planning an Attic Insulation Removal Project
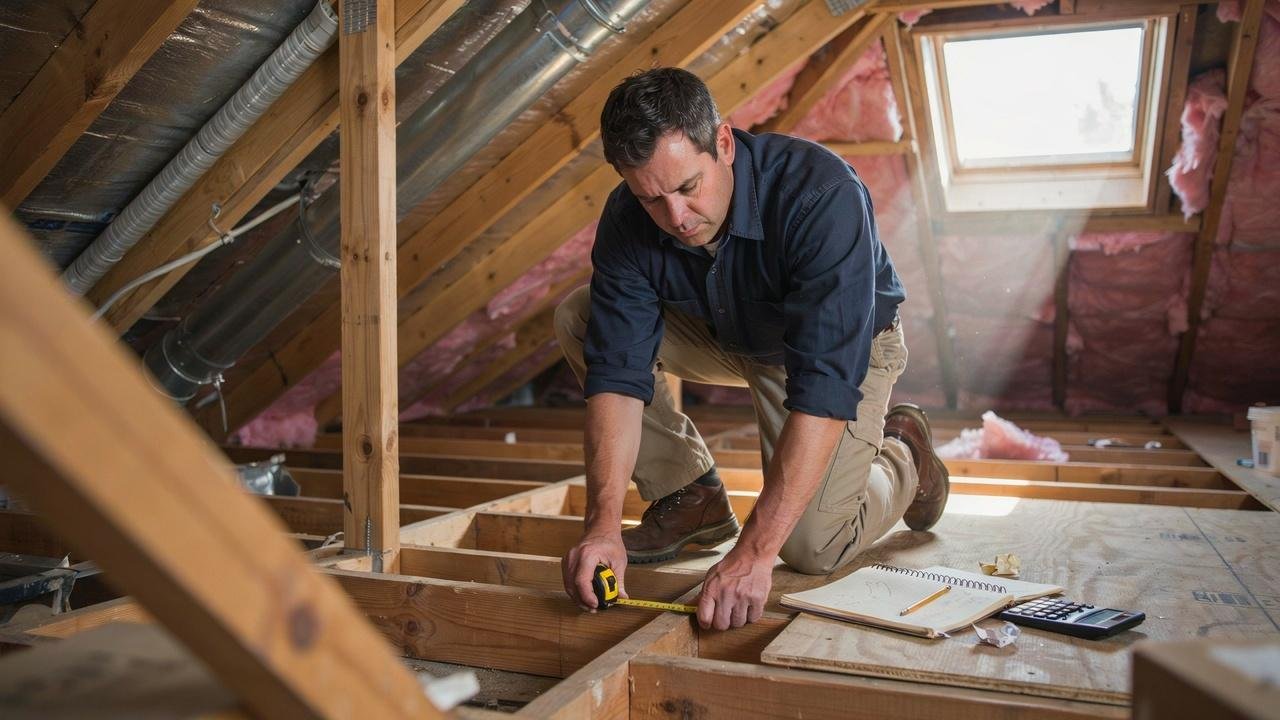
Why a little planning ahead makes the whole job easier.
Measuring Your Attic Space
Measure the length, width, and height of your attic. This helps you estimate time, bags needed, and equipment size. Write these numbers down before you shop for tools or rentals. A small miscalculation here can lead to wasted trips back to the store.
Estimating the Amount of Insulation to Remove
Multiply your square footage by the insulation depth to get a rough volume. This helps avoid running out of bags mid-project. Add a buffer of about ten percent, since corners and tight spots often hold more material than expected.
Deciding Between DIY and Professional Removal
DIY saves money but takes more time and effort. Hiring a pro makes sense for large attics or hazardous material. Think about your physical comfort working in tight, hot spaces too. Some homeowners start DIY and switch to a pro halfway through once they see the scope.
Tools, Equipment, and Safety Gear I Wish I Had From Day One
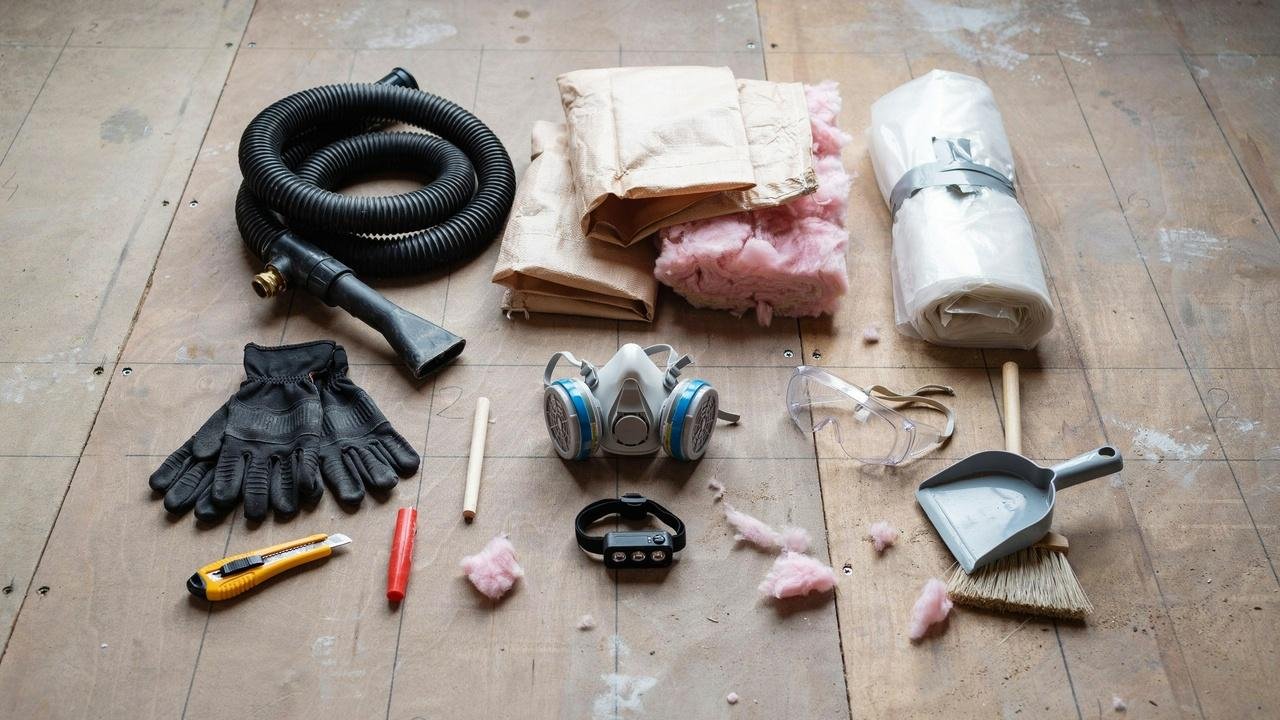
The gear that made this job safer and faster.
Removal Tools
A heavy-duty insulation vacuum, rake, and utility knife are the basics. A headlamp also helps a lot in tight, dark spaces.
A simple shop light on a stand can free up your hands compared to a headlamp alone. Extra vacuum bags are worth buying upfront so you do not stop mid-task.
Personal Protective Equipment
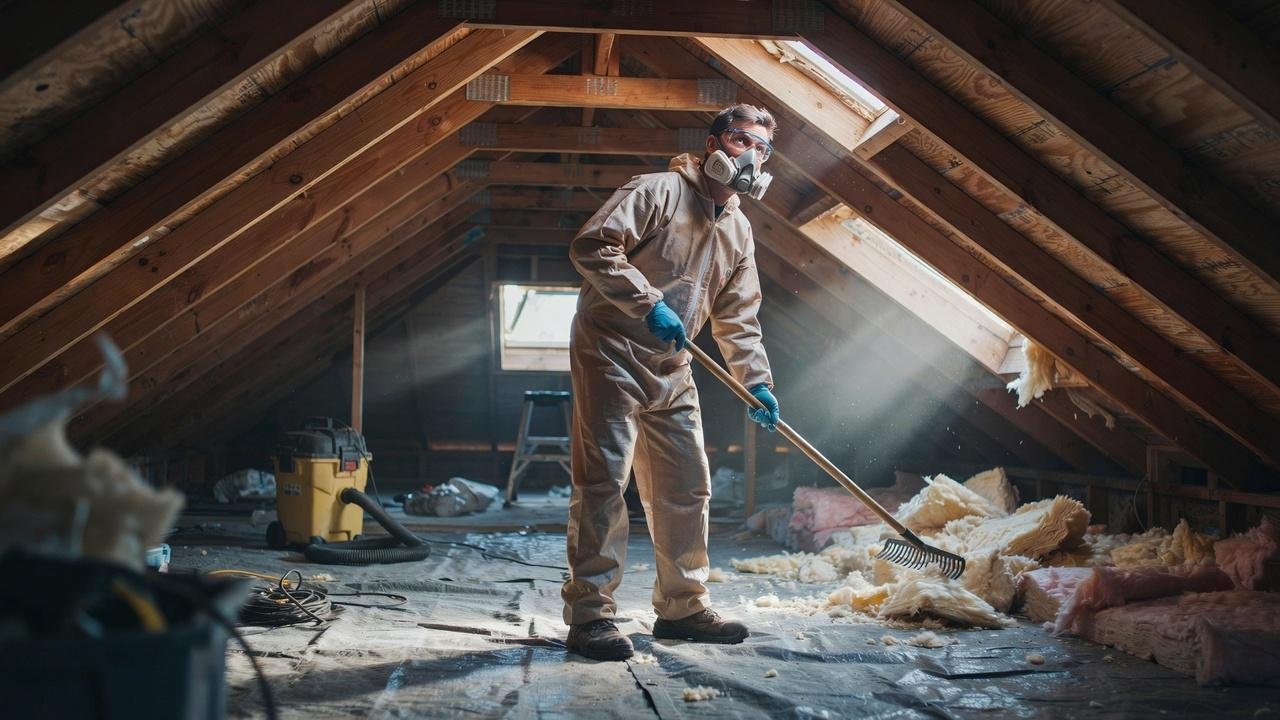
Wear gloves, goggles, a respirator, and long sleeves. Insulation dust can irritate your skin, eyes, and lungs quickly.
A disposable coverall suit adds another layer of protection and makes cleanup of your clothes much easier. Knee pads also help if you are crawling across joists for long stretches.
Preparing the Work Area for a Cleaner Job
Lay down tarps near the attic entry point. This keeps dust and debris from spreading into the rest of your home.
Cover nearby furniture or vents with plastic sheeting too. A box fan pointed toward a window can help pull dust out of the workspace as you go.
Step-by-Step Attic Insulation Removal Process
The exact order I followed to get the job done safely.
Step 1: Removing Attic Debris First
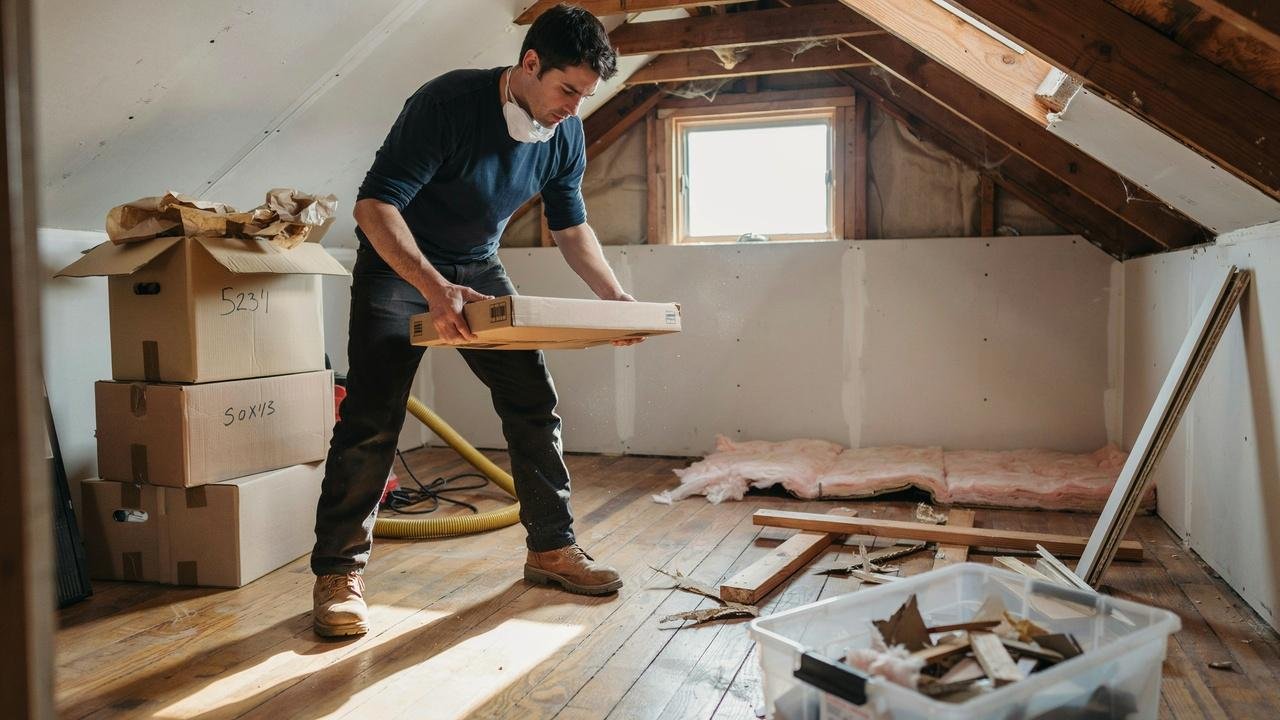
Clear out boxes, wood scraps, and loose items before touching the insulation itself.
Step 2: Vacuuming Loose-Fill Insulation
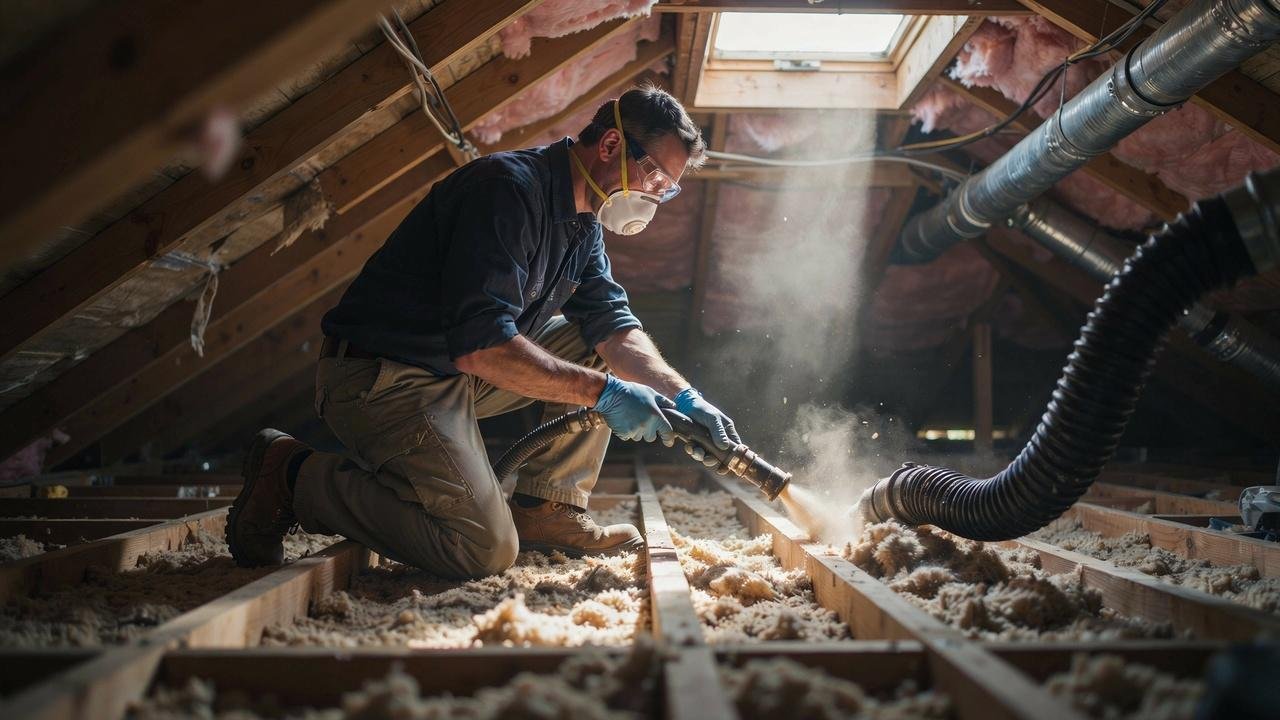
Use an insulation-rated vacuum to pull up loose material and bag it directly as you go.
Step 3: Removing Fiberglass Batts
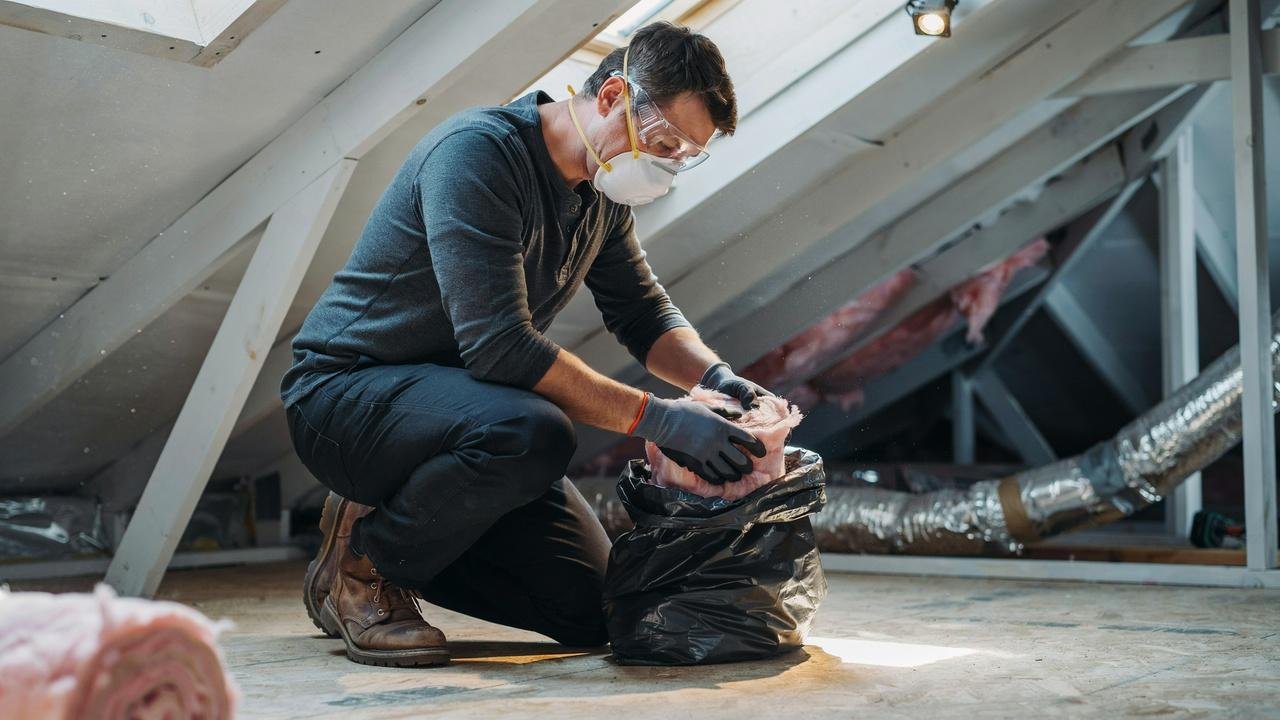
Roll up batts by hand and place them straight into heavy-duty bags to limit airborne fibers.
Step 4: Bagging and Disposing of Old Insulation
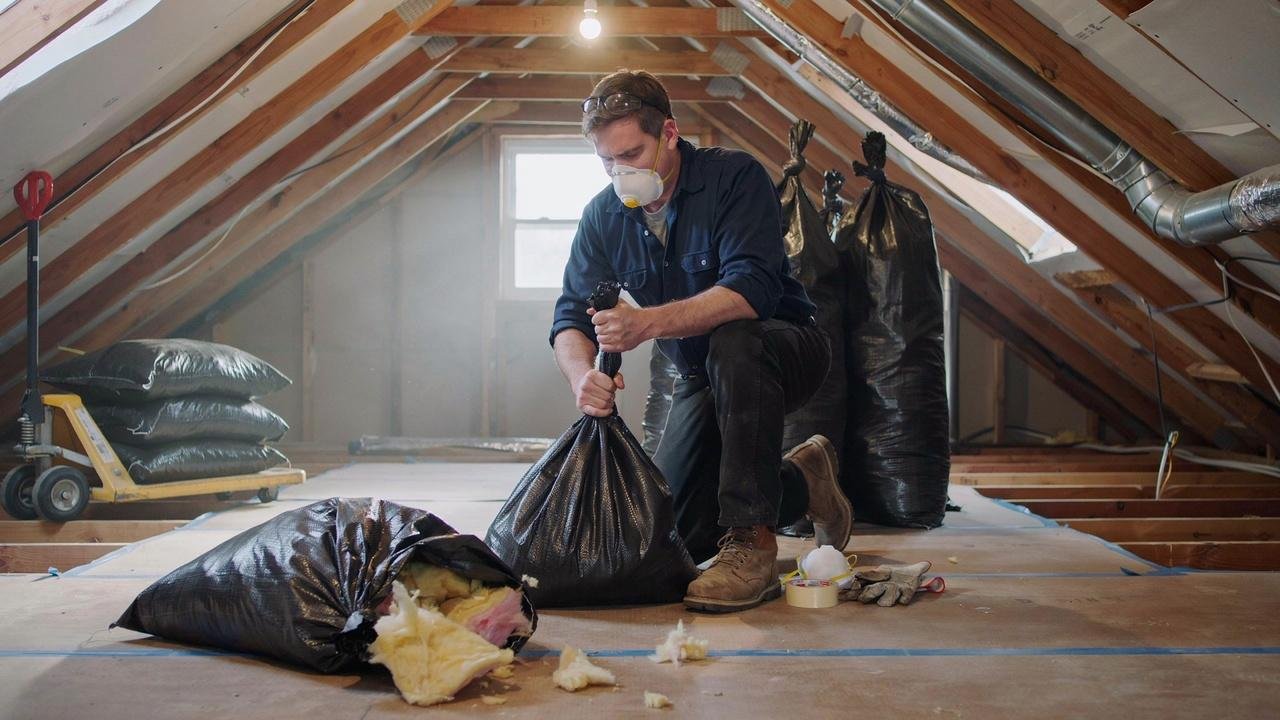
Seal bags tightly and check local rules, since some areas treat old insulation as special waste.
Step 5: Cleaning the Attic After Removal
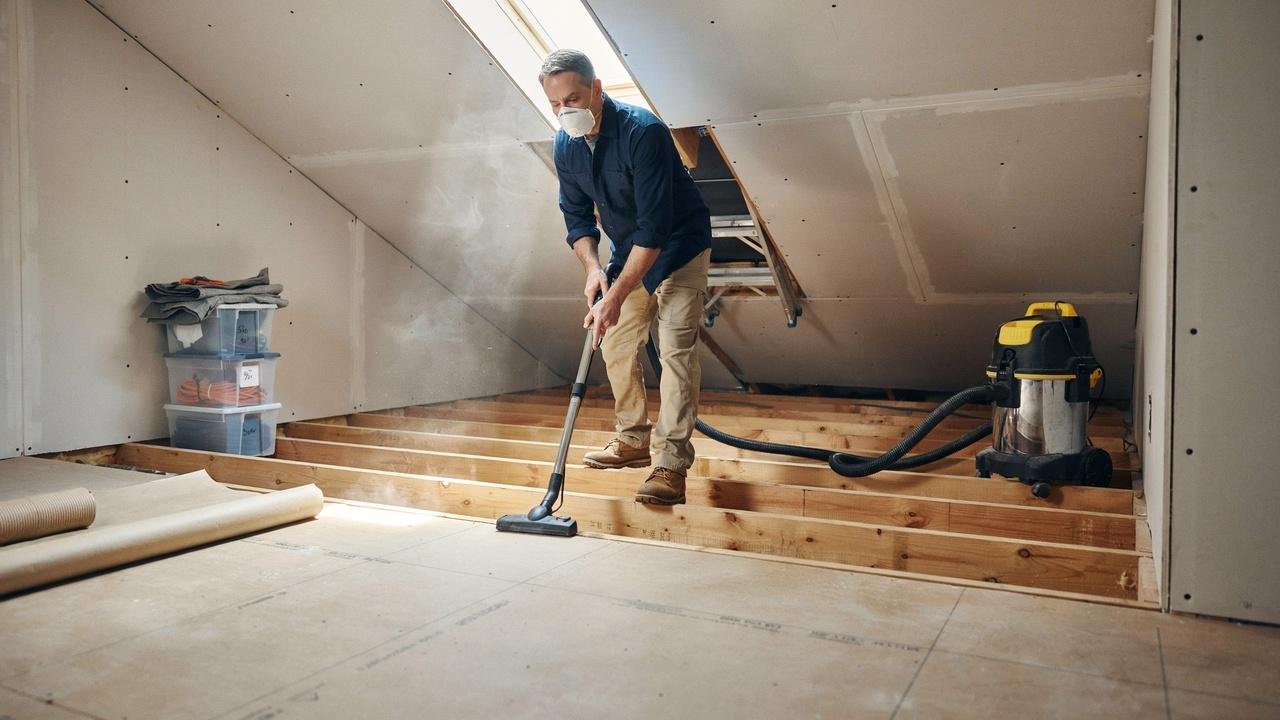
Vacuum remaining dust and debris from joists and corners before moving on to inspection.
Biggest Challenges During Attic Insulation Removal
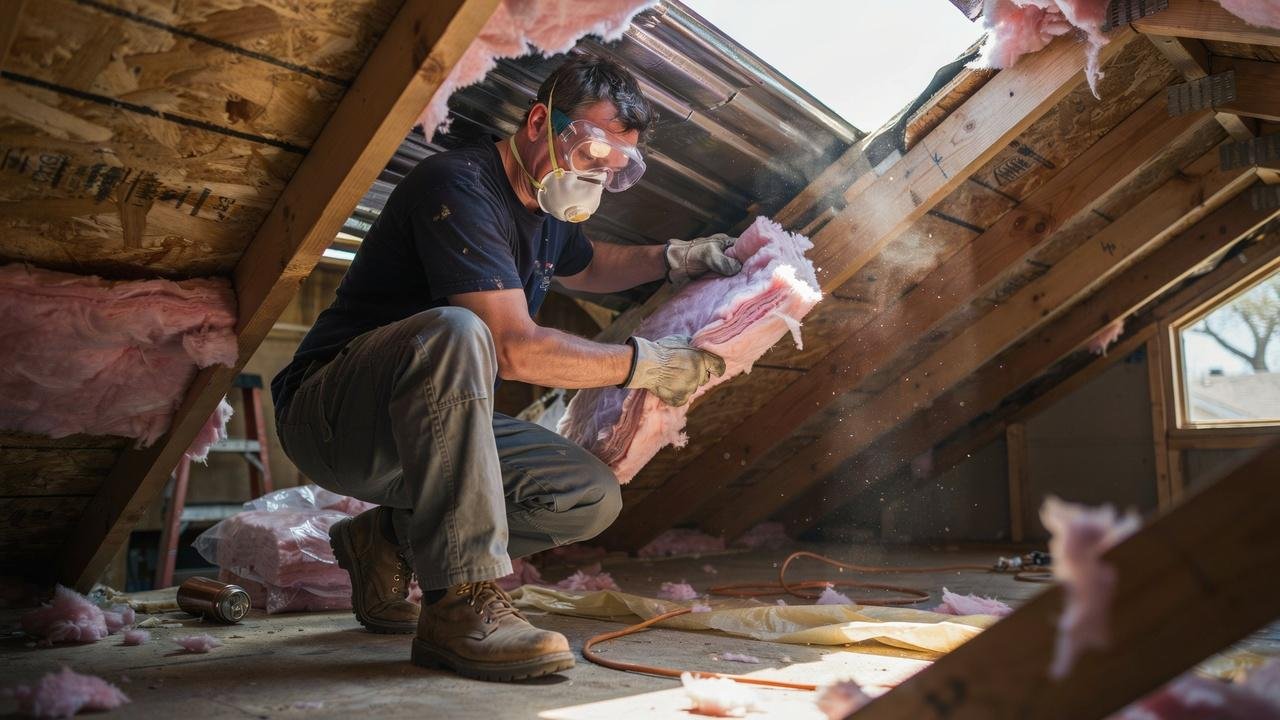
The parts of this job that tested my patience the most.
Working in Tight and Hot Spaces
Attics are cramped and often very warm. Frequent breaks made a real difference. Crawling between joists for hours puts strain on your knees and back, so pacing yourself matters more than rushing through.
Managing Dust and Airborne Particles
Even with a vacuum, dust spreads fast. A good respirator is non-negotiable here. Opening a small vent or window can help airflow, but it will not replace proper protective gear.
Unexpected Repairs and Damage
I found a small leak under the old insulation. Removal often reveals issues you did not know existed. These can include rotted wood, old wiring, or gaps that let pests inside. Budget extra time in case repairs come up.
Common DIY Mistakes to Avoid
Skipping protective gear and rushing the bagging step were my biggest early mistakes. Overfilling bags until they tear is another common error. Slowing down during the messiest steps saves cleanup time later.
Lessons Learned From Attic Insulation Removal
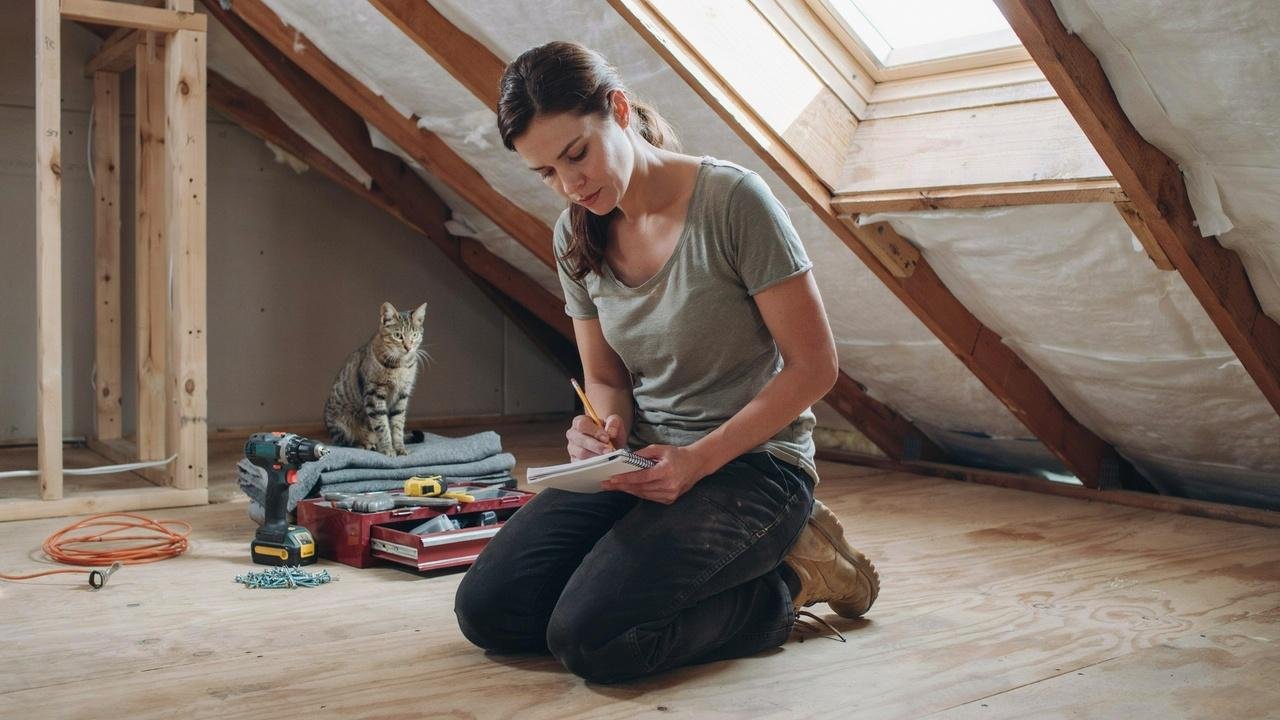
A few things I would tell my past self before starting.
What Saved Time and Effort
Renting a high-powered insulation vacuum cut my removal time nearly in half. Having a helper to swap bags and haul debris also kept the job moving without constant stops.
What I Would Do Differently Next Time
I would schedule the job for early morning instead of midday heat. I would also buy more bags upfront instead of pausing to restock halfway through.
Situations Where Hiring a Professional Makes Sense
Large attics, suspected asbestos, or major mold growth are good reasons to call a pro. If your attic has limited access points or very low clearance, professional equipment may handle it more safely than a DIY setup.
What to Do After Attic Insulation Removal
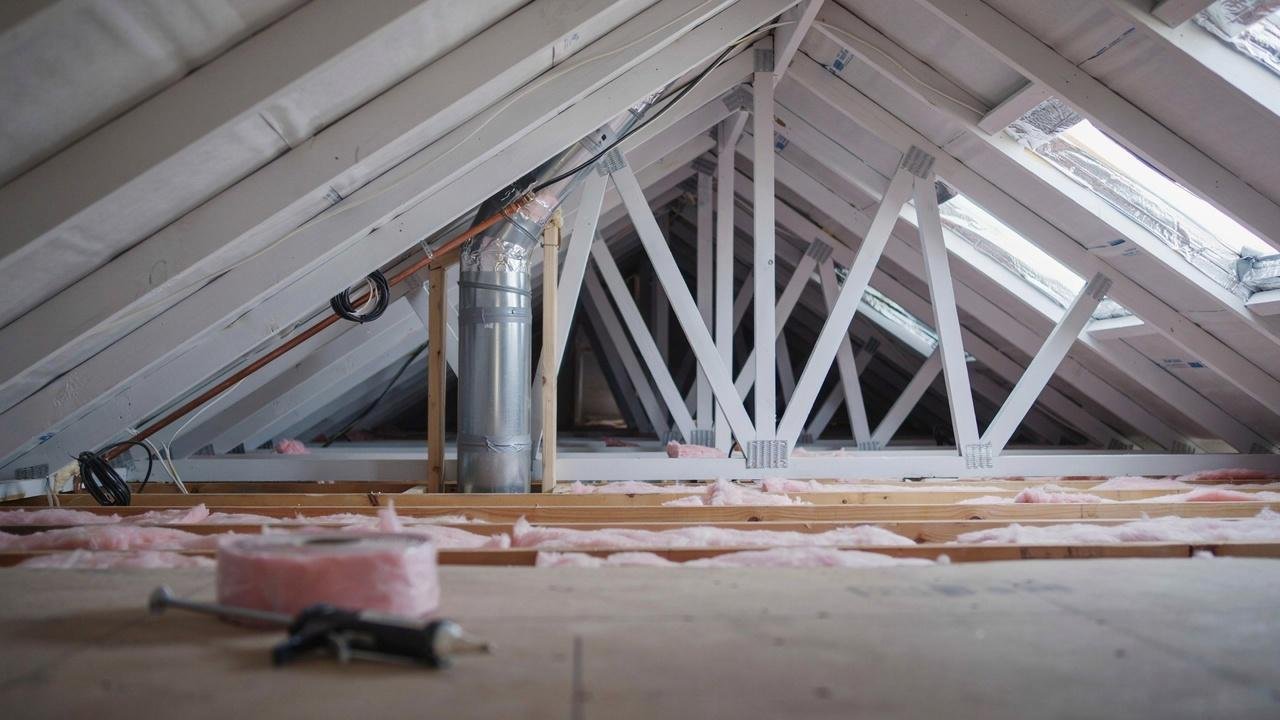
The steps that matter once the old material is gone.
Inspecting the Attic Structure
Check joists and decking for rot, water stains, or pest damage before reinsulating. This is the best chance to catch problems while everything is exposed and easy to see.
Air Sealing Gaps and Penetrations
Seal gaps around pipes, wiring, and vents to stop future air leaks. Use caulk for small gaps and expanding foam for larger openings around plumbing stacks.
Improving Ventilation Before Reinsulating
Make sure soffit and roof vents are clear so your attic breathes properly. Blocked vents can trap moisture and lead to mold even with new insulation installed.
Choosing Replacement Insulation
Compare fiberglass, cellulose, and spray foam based on your budget and climate needs. Cellulose works well for even coverage, while spray foam offers stronger air sealing at a higher cost.
Attic Insulation Removal Costs: What Homeowners Should Expect

A realistic look at what this project can cost.
Factors That Affect Removal Costs
Attic size, insulation type, and labor rates in your area all affect the final price. Difficult access points, like a small attic hatch, can also raise labor costs since the job takes longer.
DIY Costs vs Professional Service Costs
DIY mainly costs equipment rental and bags. Professional service adds labor and disposal fees. A pro crew can finish faster, but you trade that speed for a higher overall price.
Hidden Expenses That Can Increase Your Budget
Mold treatment, pest damage repair, and extra disposal fees can add up quickly. Special handling fees for hazardous material, like suspected asbestos, can also raise your total cost.
Is Attic Insulation Removal Worth It?
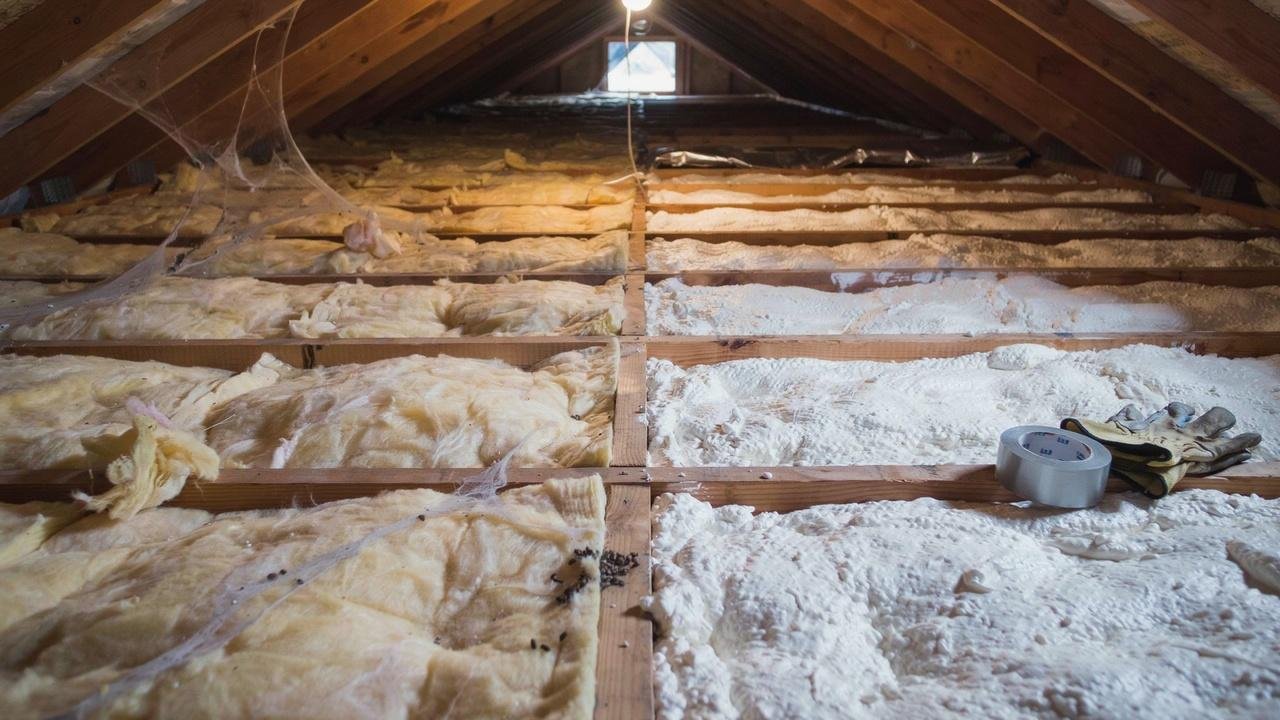
Why this project pays off in more ways than one.
Energy Efficiency Benefits
Fresh insulation helps your home hold temperature better, which can lower energy bills. It reduces the strain on your heating and cooling system throughout the year.
Better Indoor Air Quality
Removing old, dusty insulation reduces allergens circulating through your home. This can make a noticeable difference for anyone with allergies or breathing issues.
Long Term Home Maintenance Advantages
Catching hidden damage early can prevent costly repairs down the road. A clean, well-inspected attic also makes future maintenance much easier to handle.
Tips for Quick Attic Insulation Removal
A faster way to get through this job without cutting corners.
- Wear protective gear the entire time, including gloves and a quality respirator
- Work during cooler hours to avoid attic heat
- Measure the attic before renting equipment to prevent overspending
- Use strong disposal bags that won't tear under weight
- Inspect for air leaks around vents, pipes, and wiring before reinsulating
Conclusion
If you have read this far, you are probably already thinking about your own attic. I get it.
I felt the same way before I started my attic insulation removal project, a mix of curiosity and dread about what I would find up there.
Honestly, finding that small leak was the best surprise of the whole job. It saved me from a bigger repair later. So grab your gloves and give it a try.
Drop a comment with your own attic story, share this post, or check out our other home guides.
Frequently Asked Questions
How long does attic insulation removal take?
Most homeowners finish in one to two days. Larger attics or heavy debris can extend the timeline.
Do I need a respirator for attic insulation removal?
Yes, a quality respirator protects your lungs from dust and fiber particles during removal.
Can I remove fiberglass insulation myself?
Yes, with proper gloves, goggles, and a respirator, most homeowners can safely remove fiberglass batts.
How much does professional attic insulation removal cost?
Costs vary by attic size and location, but labor and disposal fees both factor into the total price.
What should I do if I find mold during removal?
Stop work immediately and contact a professional for safe mold testing and removal.