Installing new windows in new construction can feel confusing at first. Many people worry about getting the framing right, sealing properly, or avoiding leaks later.
This guide on installing new windows new construction guide is here to solve that problem step by step in a simple way.
You’ll learn how to prepare the opening, set the window correctly, apply flashing, and seal it for long-term protection.
Everything is explained in a clear order so you don’t miss anything important.
If you’ve ever felt unsure during installation, this will help you feel more confident and in control.This guide is based on practical construction methods used on real job sites.
Understanding New Construction Windows
New construction windows are designed to be installed directly into the framing of a new building.
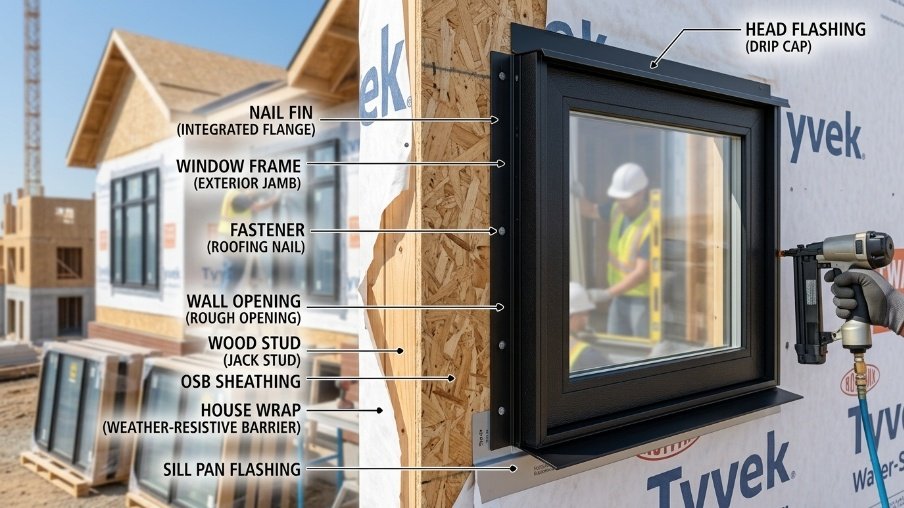
They come with a nail fin, which is a flat edge around the frame used to secure the window to the wall studs.
This helps keep the window stable and properly sealed. The nail fin also makes it easier to align the window during installation and prevents shifting over time.
Unlike replacement windows, which fit inside an existing frame, new construction windows are installed before exterior siding is added.
This allows better sealing and integration with flashing and house wrap, giving stronger protection against air and water leaks in the long run.
Tools and Materials You Will Need
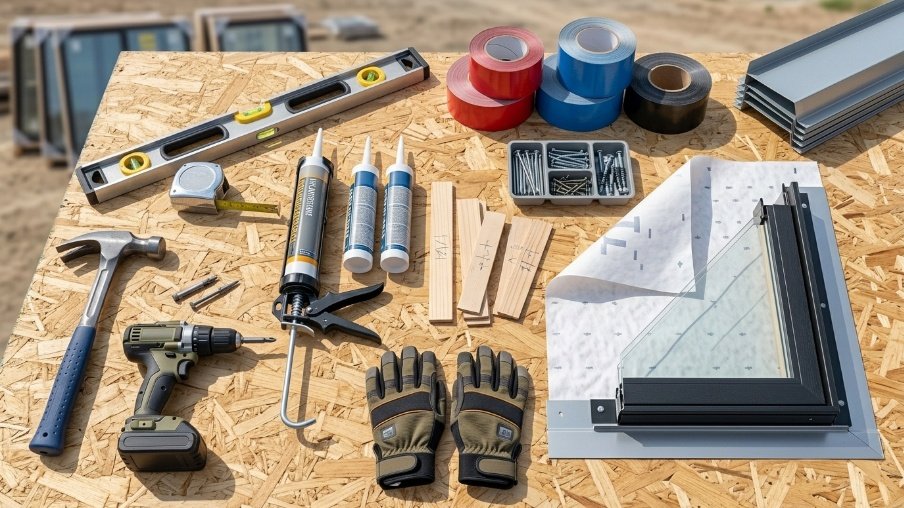
Having the right tools and materials makes installation smooth and accurate.
- Important tools (level, tape measure, hammer, drill, etc.)
- Flashing tape and house wrap
- Sealants, shims, and fasteners
Preparing the Window Opening
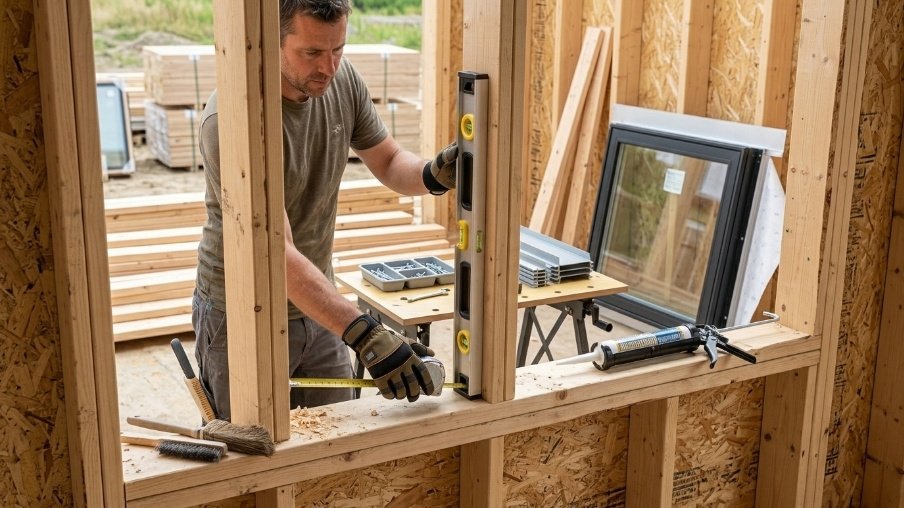
Good preparation saves time and avoids costly mistakes later.
- Before installing a window, the opening must be accurate and clean for a proper fit. This step helps prevent leaks, misalignment, and future damage.
- Start by checking the rough opening dimensions and making sure they match the window size. Even small gaps or tight fits can cause problems during installation.
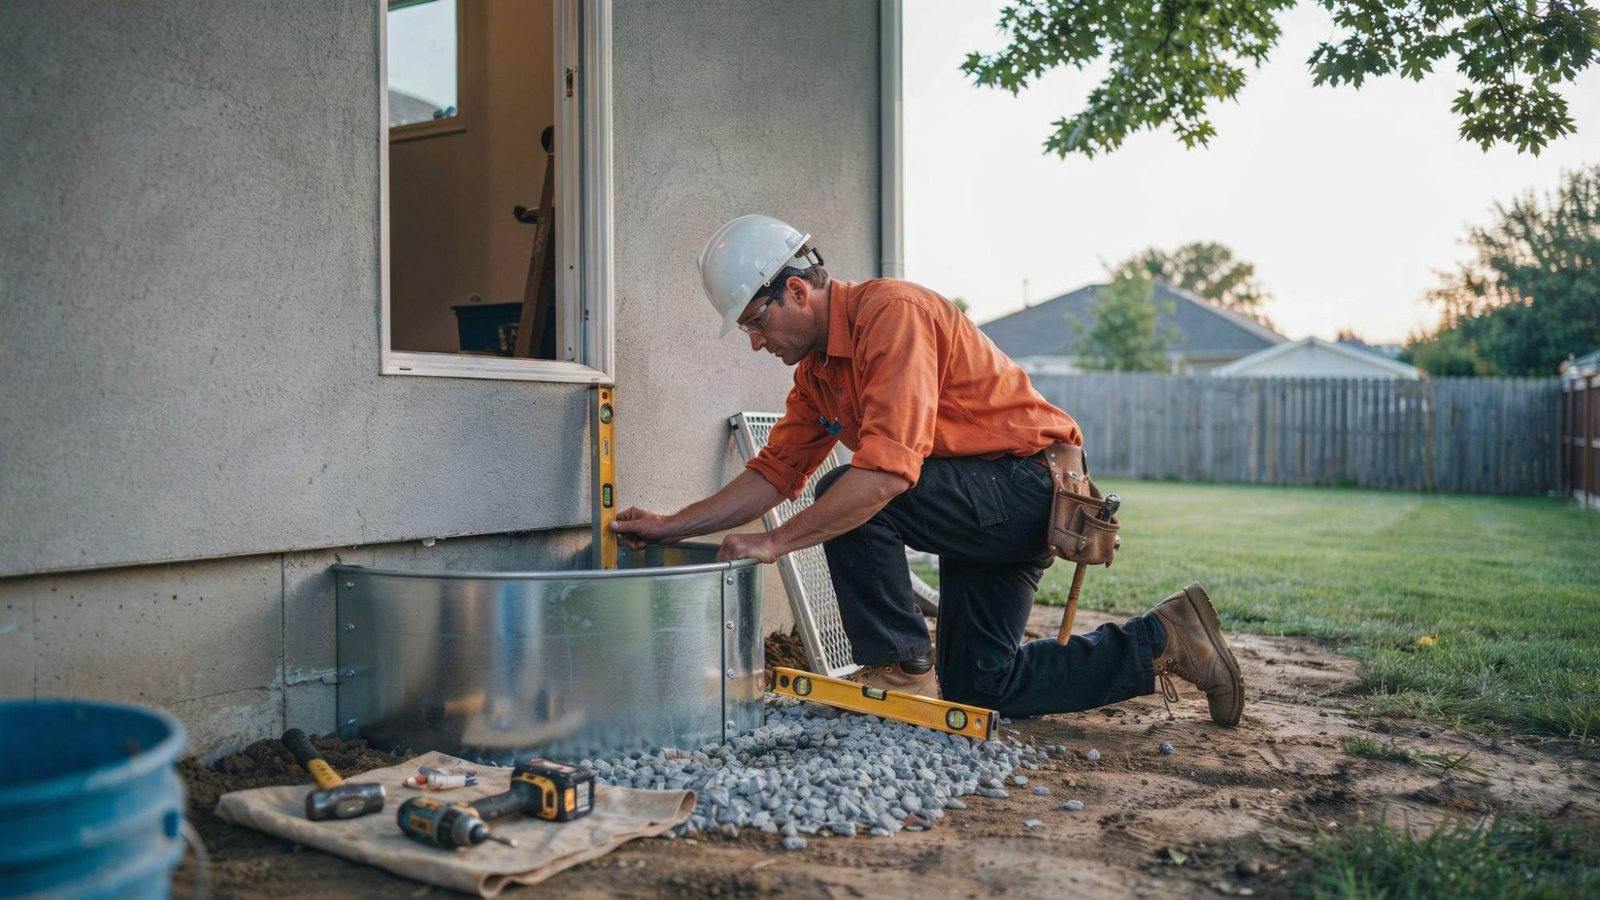
- Next, ensure the framing is level, plumb, and square so the window sits evenly.
- Finally, clean the area by removing dust, debris, or nails that could interfere with sealing or flashing.
- A well-prepared opening makes the rest of the installation smoother and more reliable.
Step-by-Step Installation Process
Installing a window in new construction needs a careful step-by-step approach to ensure it is secure, level, and weather-tight.
Dry Fitting the Window
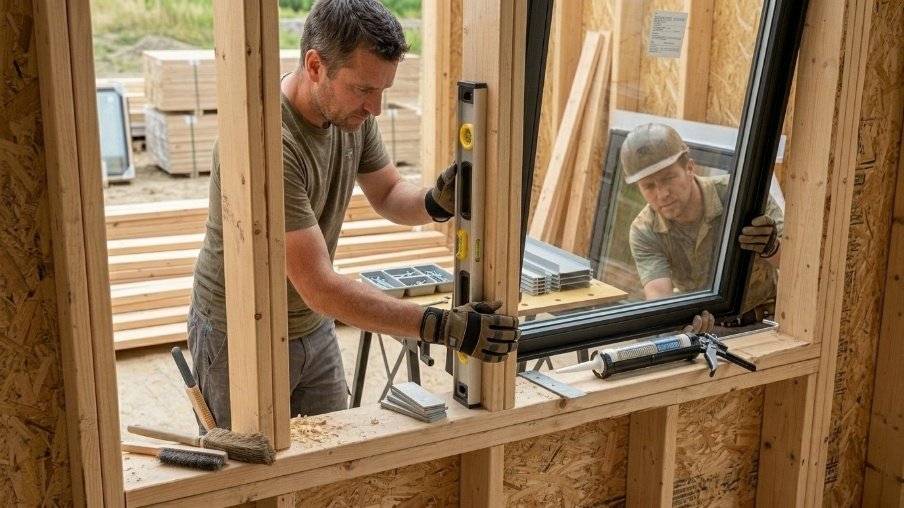
Dry fitting means placing the window into the opening without fully securing it. This step helps you check if the size is correct and if it sits properly in the frame.
You can quickly spot gaps, tight spots, or alignment issues before installation begins. It also gives you a chance to adjust the opening if needed.
Skipping this step can lead to poor fit and sealing problems later.
Applying Flashing Tape
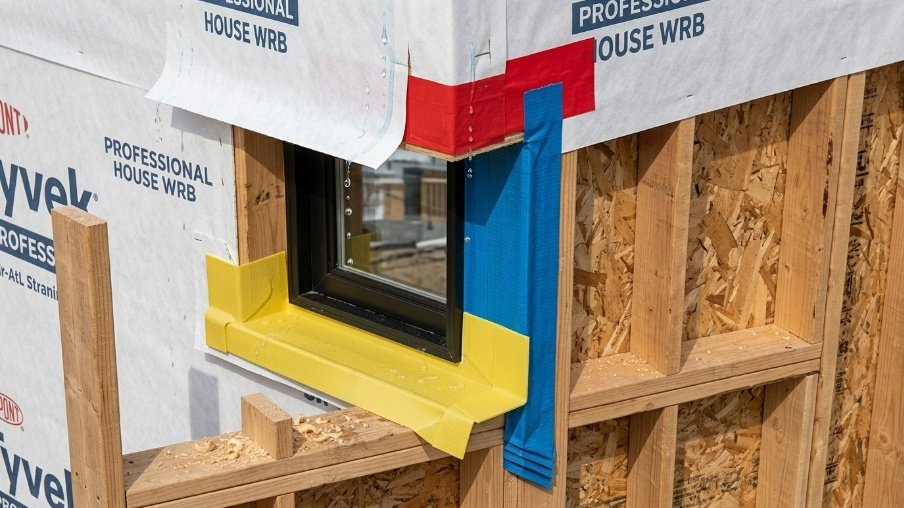
Flashing tape is applied to protect the window from water intrusion. Always start at the bottom, then move to the sides, and finish at the top to create proper overlap.
This layering is important because it allows water to drain outward instead of seeping inside. If applied incorrectly, moisture can get trapped and cause damage over time.
Proper sequencing ensures long-term durability and a tight weather seal.
Setting the Window in Place
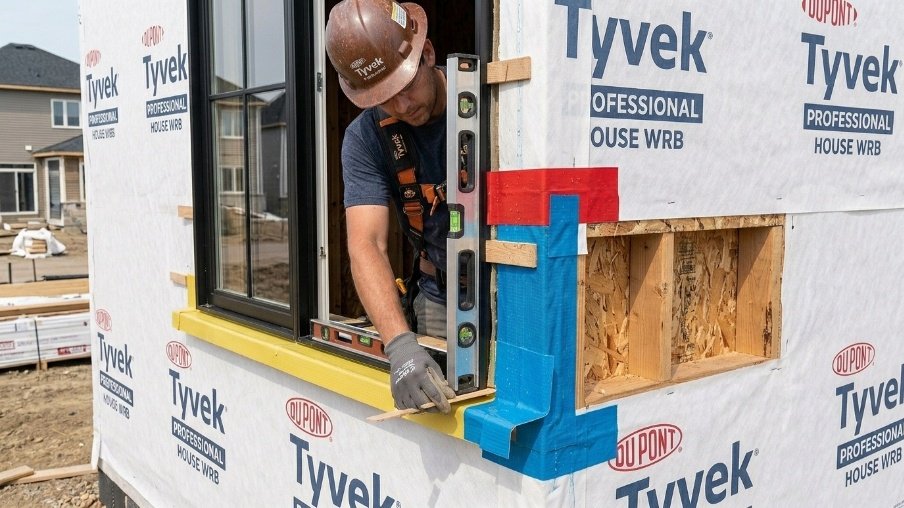
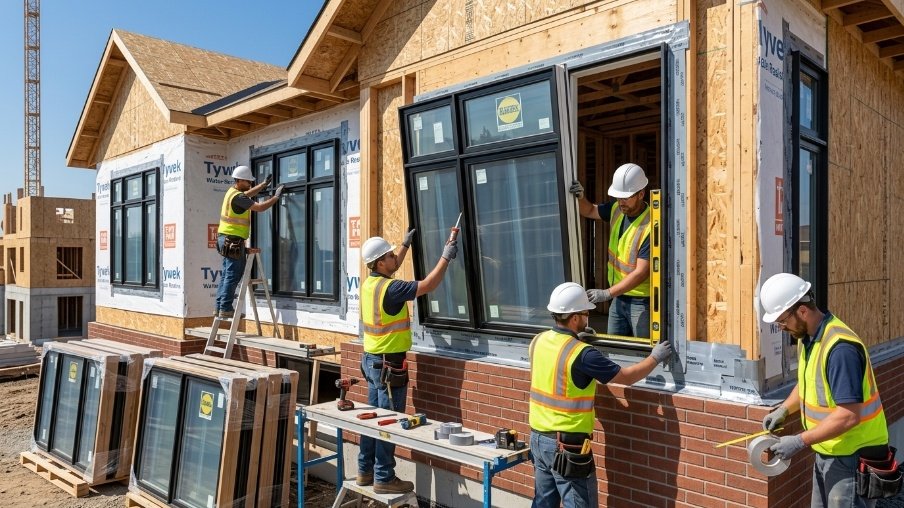
Now place the window carefully into the prepared opening. Make sure it is centered and sits evenly against the frame.
Use shims on the sides and bottom to adjust and hold it in a level and plumb position. This step ensures the window opens and closes smoothly without strain.
Small adjustments here make a big difference in alignment and overall installation quality.
Fastening the Window
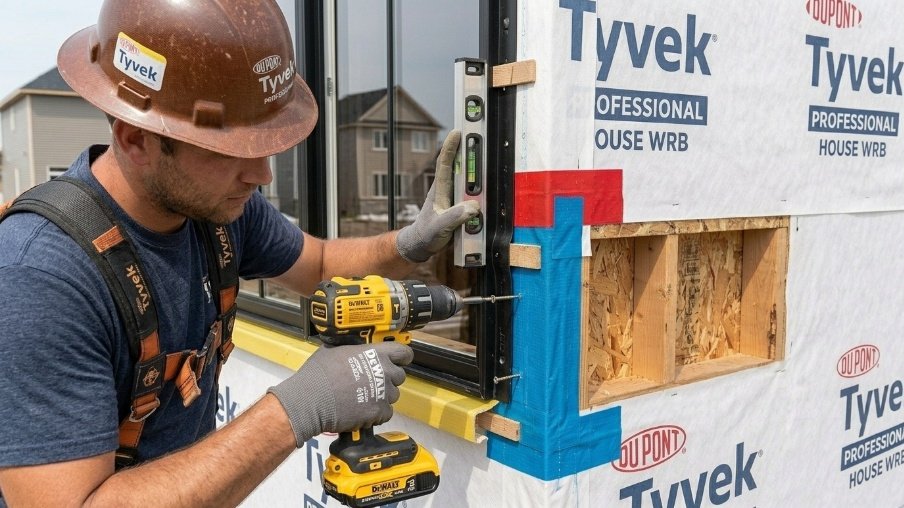
Once the window is correctly positioned, secure it by nailing through the nail flange into the framing. Start slowly and check alignment as you go to avoid shifting the frame.
Keep the window level and square while fastening each side. Over-tightening or uneven nailing can distort the frame.
Proper fastening ensures the window stays stable and maintains a tight, long-lasting seal against air and water leaks.
Sealing and Weatherproofing
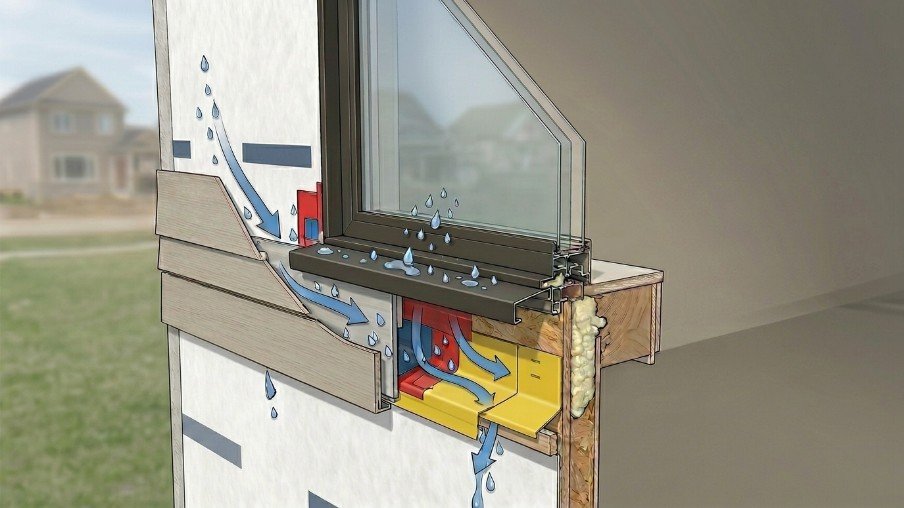
Sealing and weatherproofing are key steps to protect the window from rain, wind, and moisture damage.
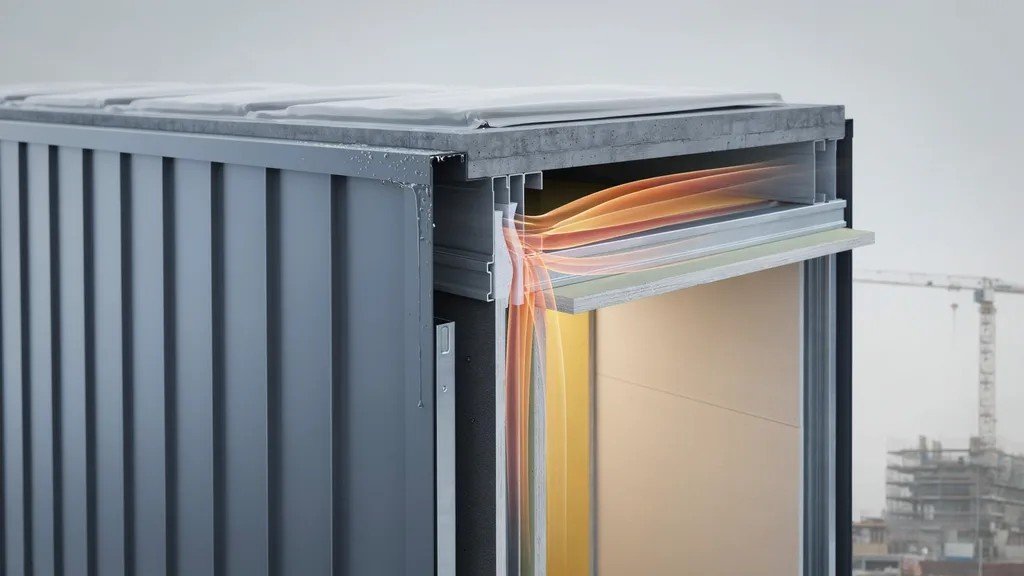
Start with exterior flashing techniques to guide water away from the frame and ensure each layer overlaps correctly for proper drainage.
Next, apply high-quality caulk and sealants around the edges to close any small gaps where air or water could enter. Focus on corners and joints for a tighter seal.
When done correctly, these steps prevent long-term water intrusion, mold growth, and frame damage.
Strong sealing ensures the window stays durable and energy-efficient in all weather conditions.
Insulation and Interior Finishing
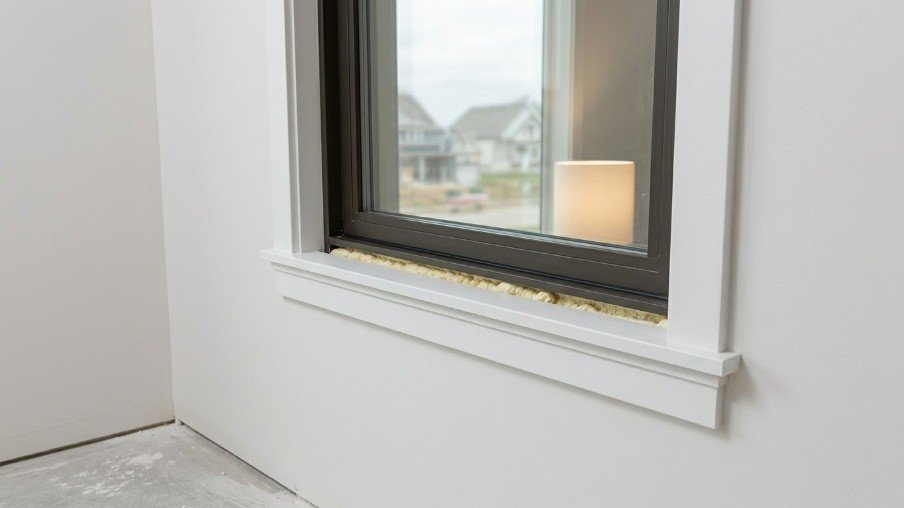
Insulation and interior finishing help improve comfort and give the window a clean, finished look.
Begin by filling gaps around the frame with low-expansion foam insulation to block air leaks and improve energy efficiency.
Be careful not to overfill, as it can warp the frame. Next, install interior trim to cover edges and create a neat transition between the window and wall.
Finally, complete drywall finishing by sanding and smoothing joints for a clean surface.
These steps improve appearance, reduce drafts, and ensure the installation looks professional from inside the home.
Common Mistakes to Avoid
Even small installation errors can affect performance and cause long-term damage.
- Skipping flashing steps
- Over-tightening fasteners
- Poor leveling or alignment
Pro Tips for Long-Lasting Installation
A few careful habits can make your window installation stronger and more durable over time.
- Double-check measurements
- Work with weather conditions in mind
- Always follow manufacturer instructions
Conclusion
Installing windows in new construction can feel detailed, but once you follow the right steps, it becomes much more manageable.
I’ve seen how small things like proper flashing or careful leveling can completely change the final result.
If you’re planning your own project, take your time and trust each step in installing new windows new construction guide.
Imagine your home staying strong, dry, and well-sealed for years. If this helped you, feel free to share your thoughts or try more related guides here.
Frequently Asked Questions
How do I know the window opening is the right size?
Measure the rough opening in multiple spots before installation. It should be slightly larger than the window frame for proper fitting.
Why is flashing so important in window installation?
Flashing helps direct water away from the window frame. Without it, moisture can enter and damage the structure.
Can I install new construction windows alone?
Yes, but it is easier with two people for alignment and support. This helps avoid mistakes during positioning and leveling.
What happens if the window is not level?
An unlevel window may not open or close properly. It can also lead to sealing gaps and long-term issues.
How long does the installation process usually take?
It depends on experience and preparation quality. Most single-window installs take a few hours when done carefully.