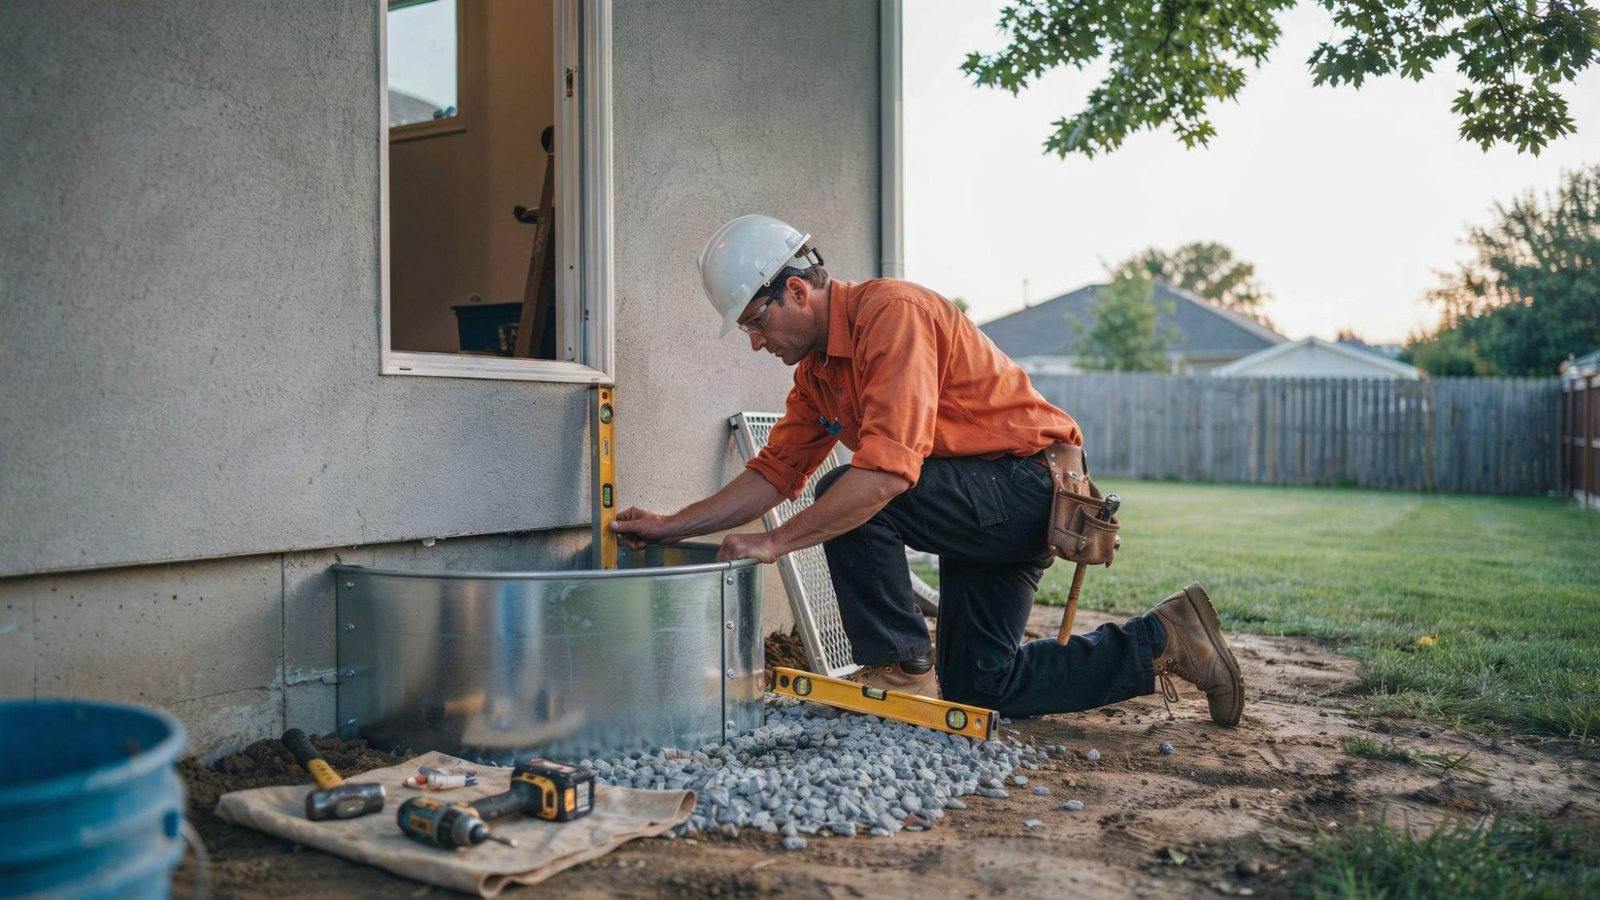
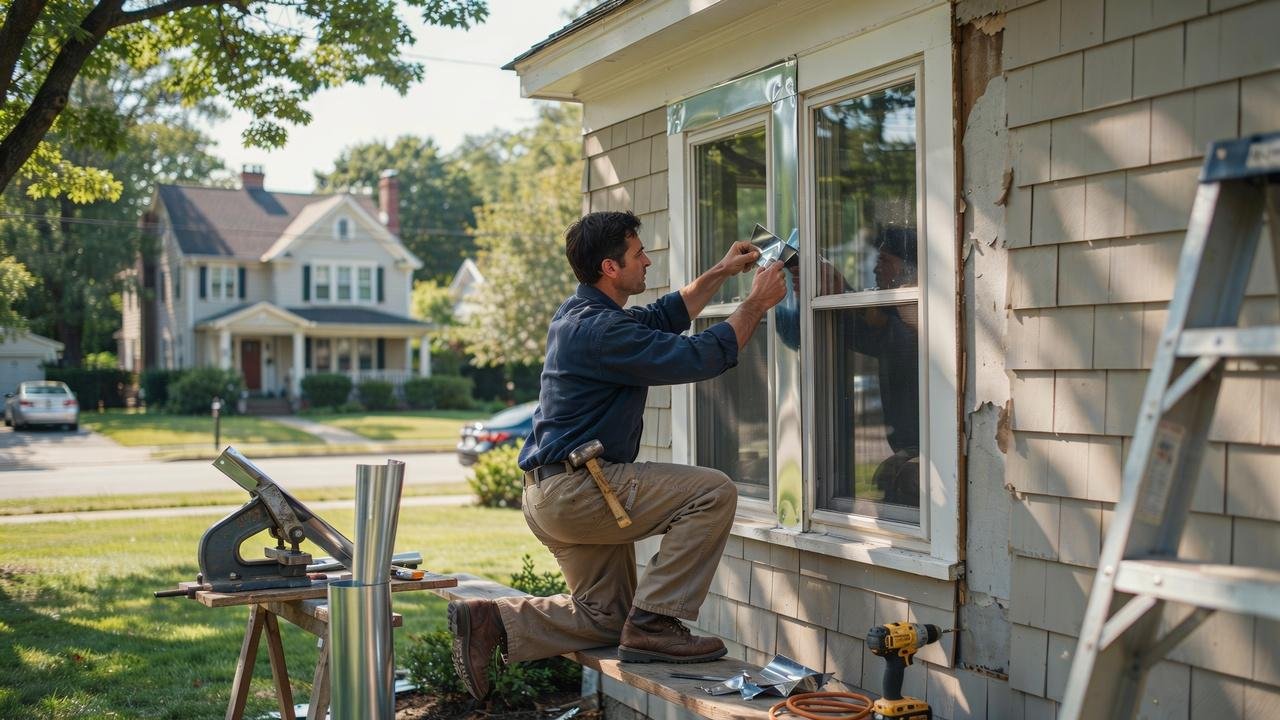
Old window trim takes a real beating from rain, sun, and snow. Wood rots, paint peels, and soon you're stuck repainting every year.
Aluminum capping fixes that problem for good. I've worked on enough home exterior projects to know which steps actually matter and which ones just waste your weekend.
This guide walks you through everything you need: the right tools, how to measure correctly, and a clear step-by-step installation process.
You'll also learn the common mistakes that lead to leaks and rot, plus simple habits to make your capping last for decades.
By the end, you'll know exactly how to cap windows with aluminum the right way, the first time.
What Is Capping Windows With Aluminum?
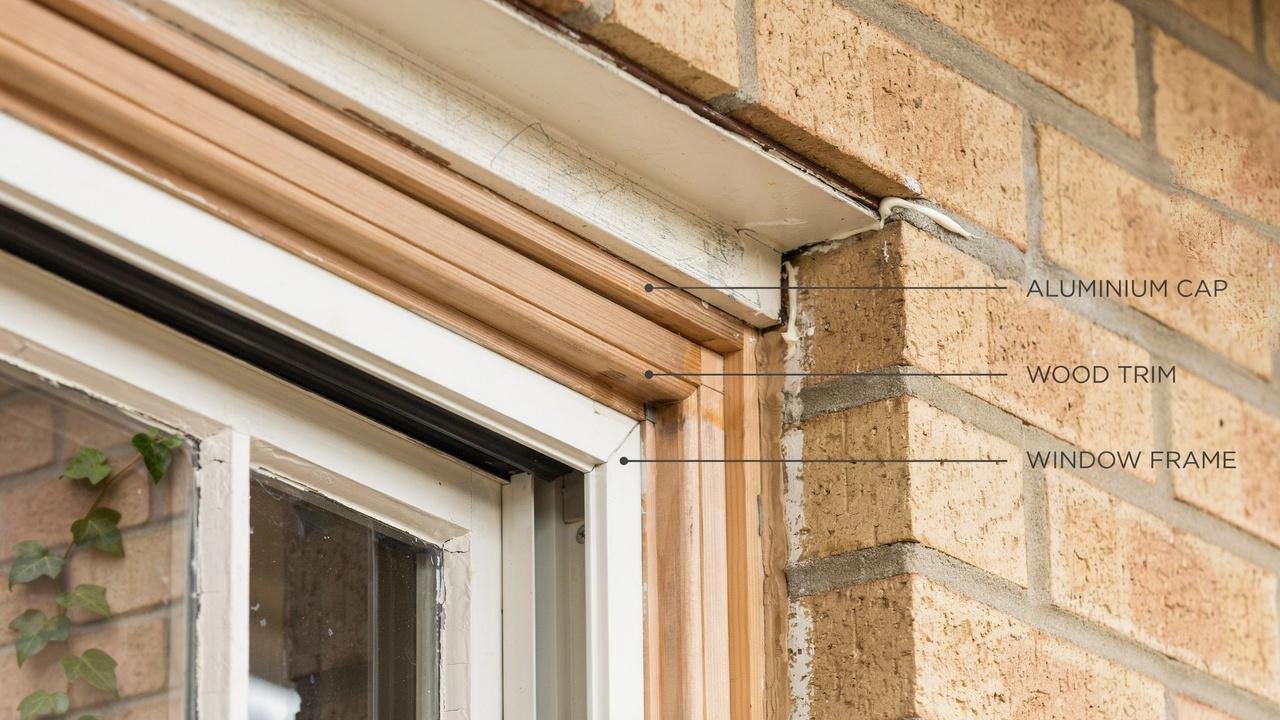
Capping windows with aluminum means covering the wood trim around your windows with sheets of metal.
A worker measures the window, then cuts and bends the aluminum to fit. This metal layer goes over the existing wood trim.
This protects the wood from rain, snow, and sun. It also stops paint from chipping and wood from rotting.
The original window stays in place. Only the outside trim gets covered. No painting or upkeep is needed after.
Tools and Materials Needed
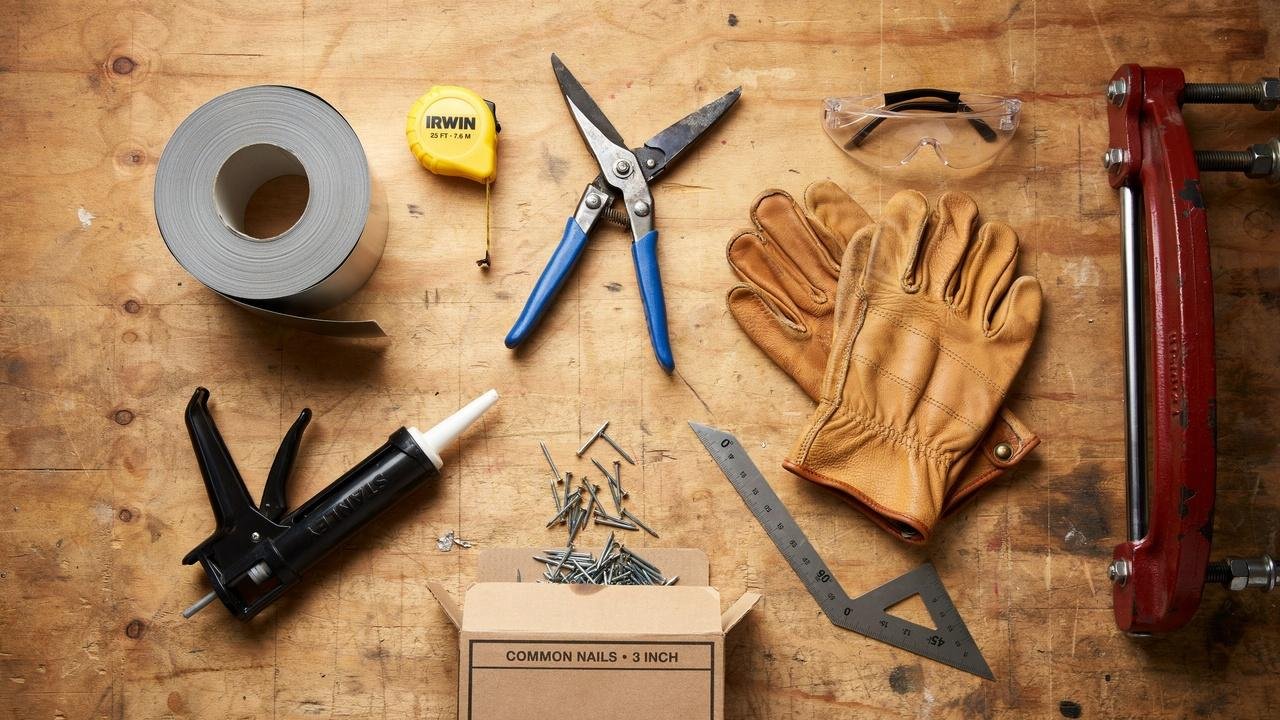
This section covers the coil stock, bending tools, and safety gear you need before starting a capping project.
Aluminum Coil Stock
Aluminum coil stock is the raw material used to wrap window trim. It comes in rolls of different widths and thicknesses, measured in inches and gauge.
Most home jobs use a thinner gauge that bends easily by hand or with a brake.
It also comes in different colors and finishes.
A baked enamel finish resists fading better than a plain mill finish, and picking the right width cuts down on extra cutting later.
Metal Brake, Tin Snips, and Measuring Tools
A metal brake folds flat aluminum into clean, sharp bends.
Hand brakes work for most home projects, while larger jobs may need a bench-mounted version.
Tin snips handle cutting the coil to length and trimming corners.
A tape measure, a speed square, and a marking pencil round out the kit.
Accurate tools lead to a tighter fit around the window.
Caulk, Nails, and Safety Equipment
Exterior-grade caulk seals the seams and edges of the finished capping. Aluminum or stainless steel nails are used so they won't rust and stain the metal.
Safety gear matters too. Cut-resistant gloves protect hands from sharp edges, and safety glasses keep shavings out of the eyes.
A properly rated ladder and a stable work surface complete the list.
How to Measure Windows for Aluminum Capping
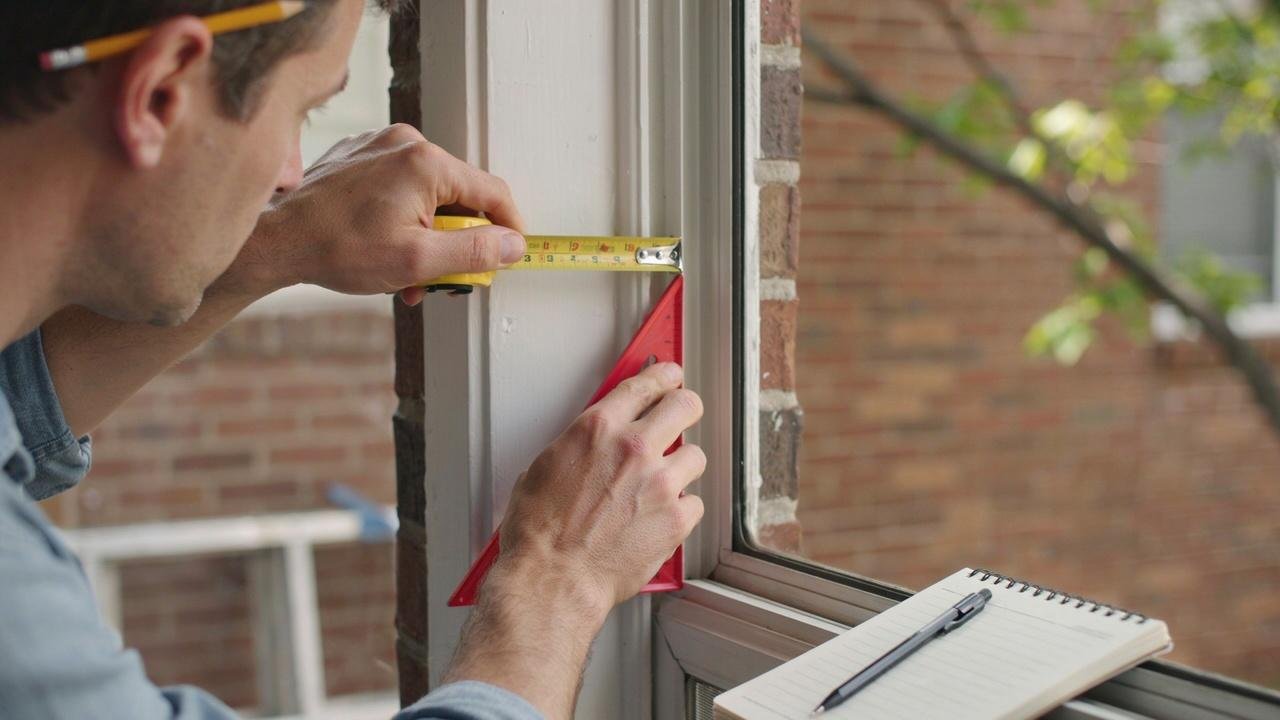
This part explains how to take window measurements and figure bend allowances so the aluminum fits without gaps or waste.
Measuring Window Dimensions Correctly
Measure the width across the top and again at the bottom, since older frames are rarely square.
Measure the trim depth too, including any horns or extensions that stick out past the frame.
Write down every measurement as you go. Skipping this step often leads to mismatched pieces later.
Calculating Bend Allowances
Bend allowance accounts for the small amount of material used up when aluminum folds at a corner.
Skipping this math usually leaves pieces too short once bent.
Add a bit of extra length at each fold point based on the metal's thickness.
Many installers use a chart or formula from the coil stock supplier to keep this consistent.
Tips for Accurate Measurements
Measure twice before cutting once. This old rule still holds true with aluminum, since a mistake here wastes material.
Use a square to check corners before assuming a window is even.
When unsure, round down rather than up, since trimming extra metal is easier than stretching a short piece.
Capping Windows With Aluminum: Step-by-Step Guide
This guide breaks the installation process into eight clear steps, from removing old trim to sealing the final seams.
Step 1: Remove Old Caulk and Damaged Trim
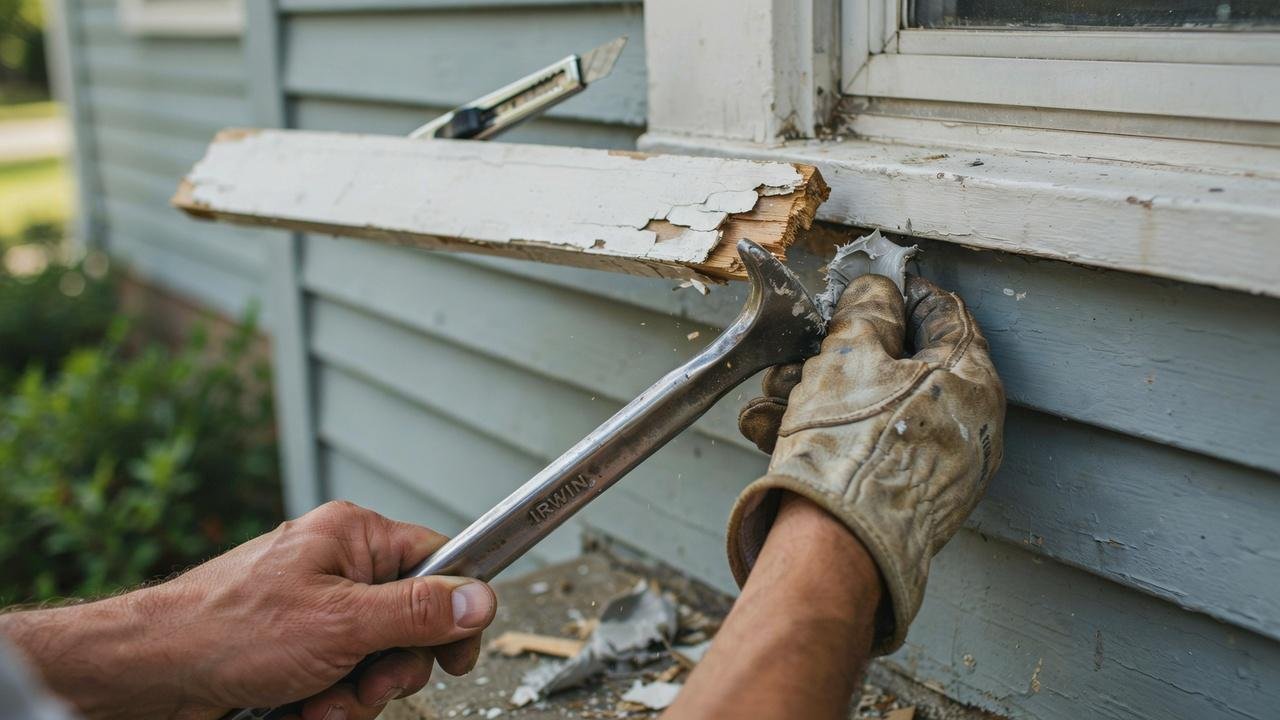
Pull off an old, cracked caulk with a putty knife or removal tool.
Pry away loose or rotted trim with a flat bar, working slowly so the frame stays intact.
Bag up the old material as you go. A clean surface makes every later step easier.
Step 2: Repair, Sand, and Prepare the Wood
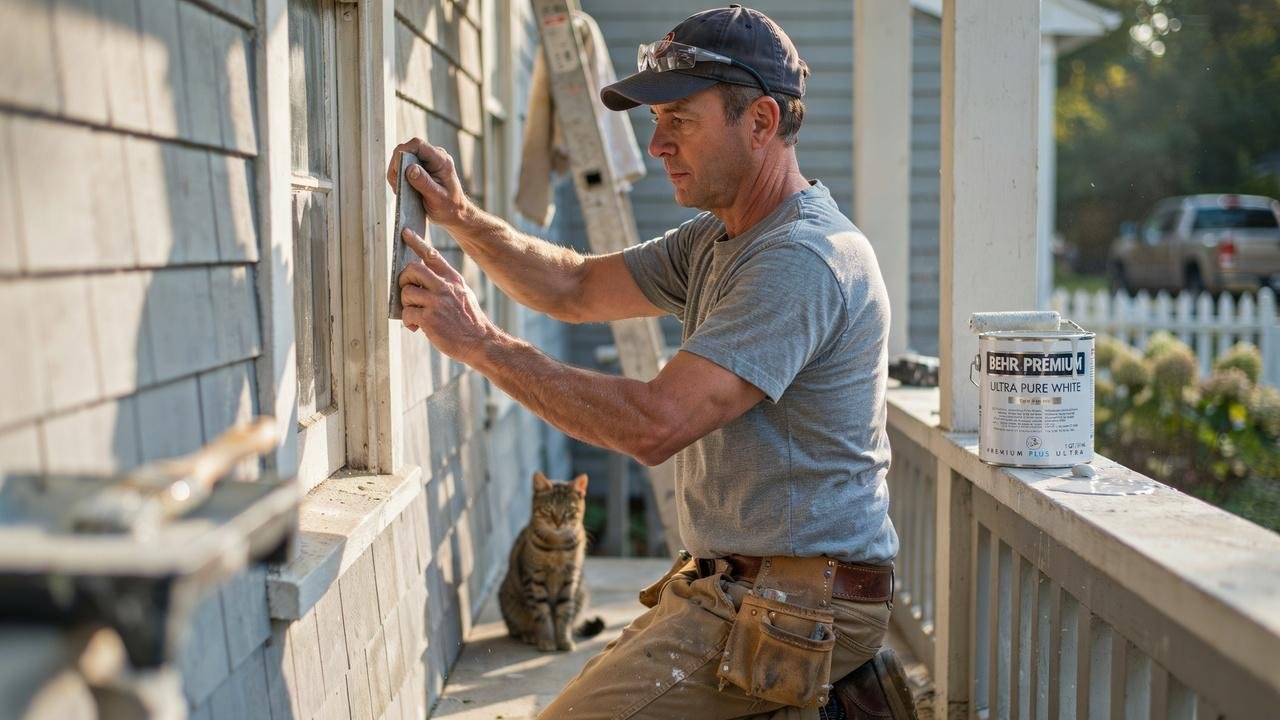
Check exposed wood for soft spots or rot, and replace damaged sections before moving on.
Aluminum capping won't stop decay that's already underway.
Sand rough areas smooth, then add a coat of primer on bare wood for extra protection.
Step 3: Add Insulation Around the Window Frame
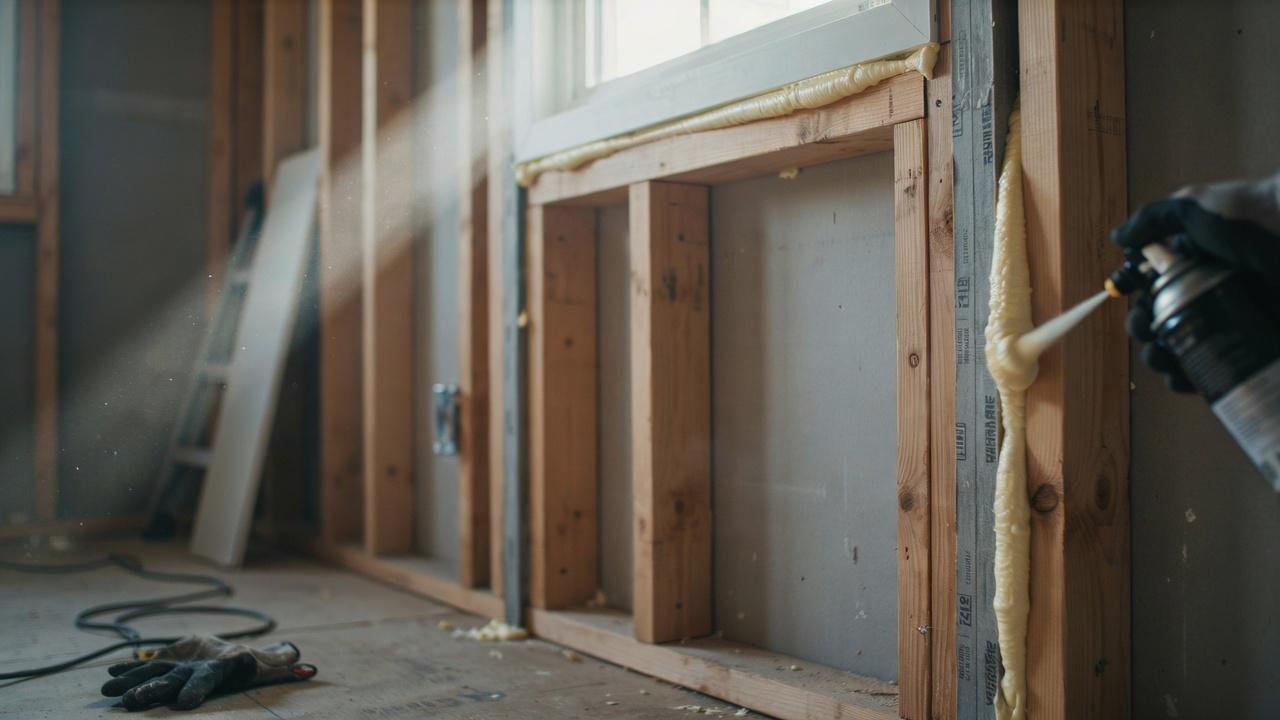
Use foam backer rod or low-expansion spray foam to fill gaps in the frame.
This cuts drafts and keeps moisture from collecting behind the trim.
Avoid overfilling, since too much foam can push against the frame and cause it to bow.
Step 4: Cut the Aluminum Coil to Size
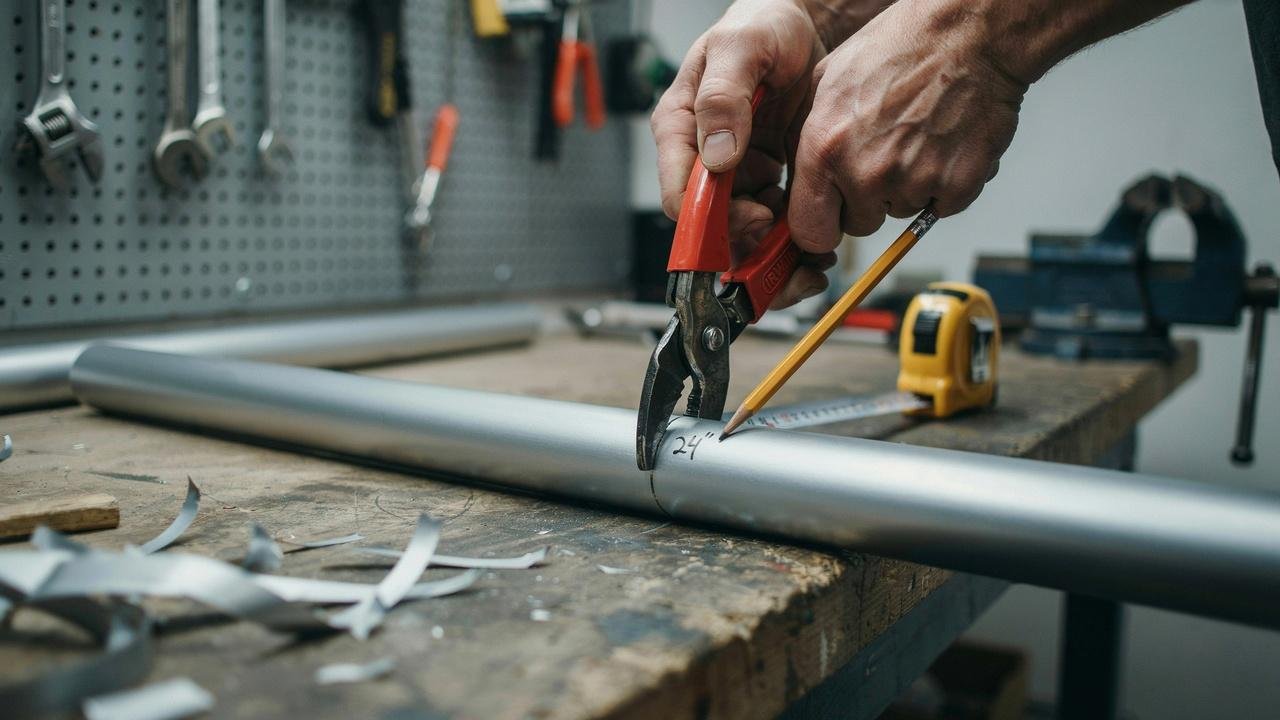
Mark the coil stock using your earlier measurements, then cut along the lines with tin snips, keeping cuts straight.
Label each piece as you go to avoid mixing up similar strips later.
Step 5: Bend the Aluminum Using a Metal Brake
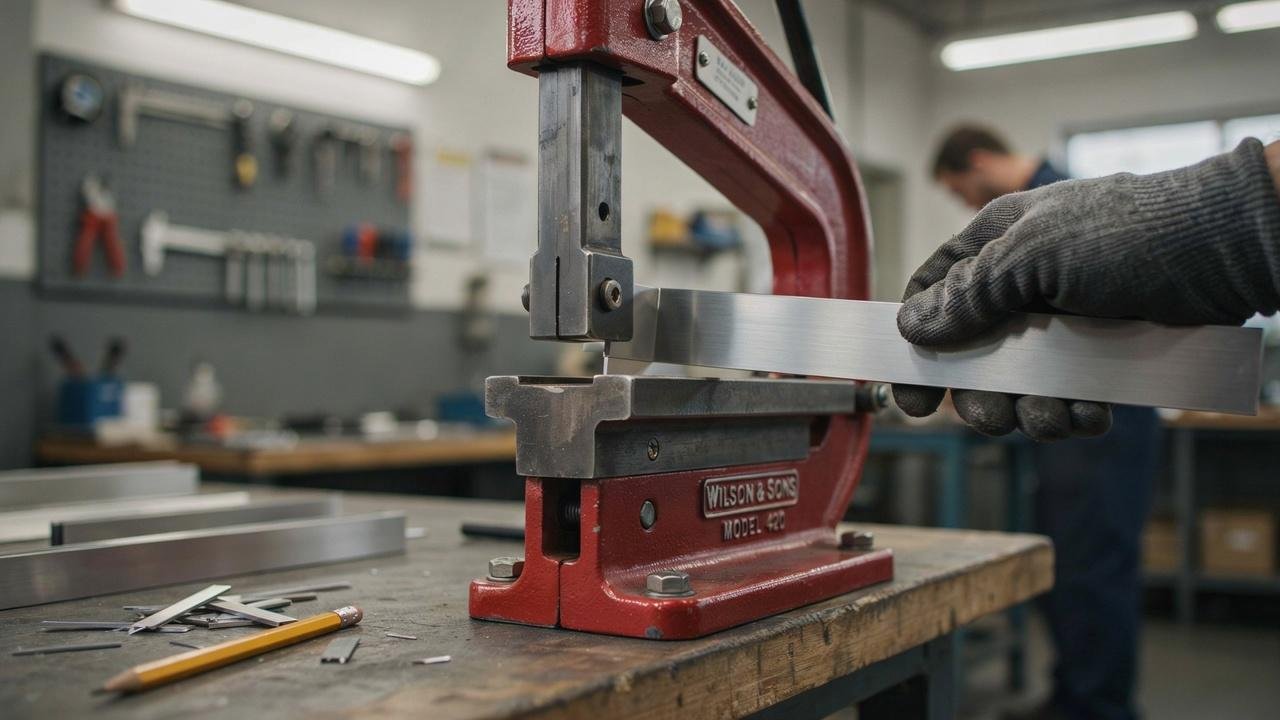
Place the marked aluminum into the brake at the fold line, then pull the handle down in one steady motion for a clean bend.
Check the angle against the trim before moving to the next fold.
Step 6: Install the Bottom Piece First
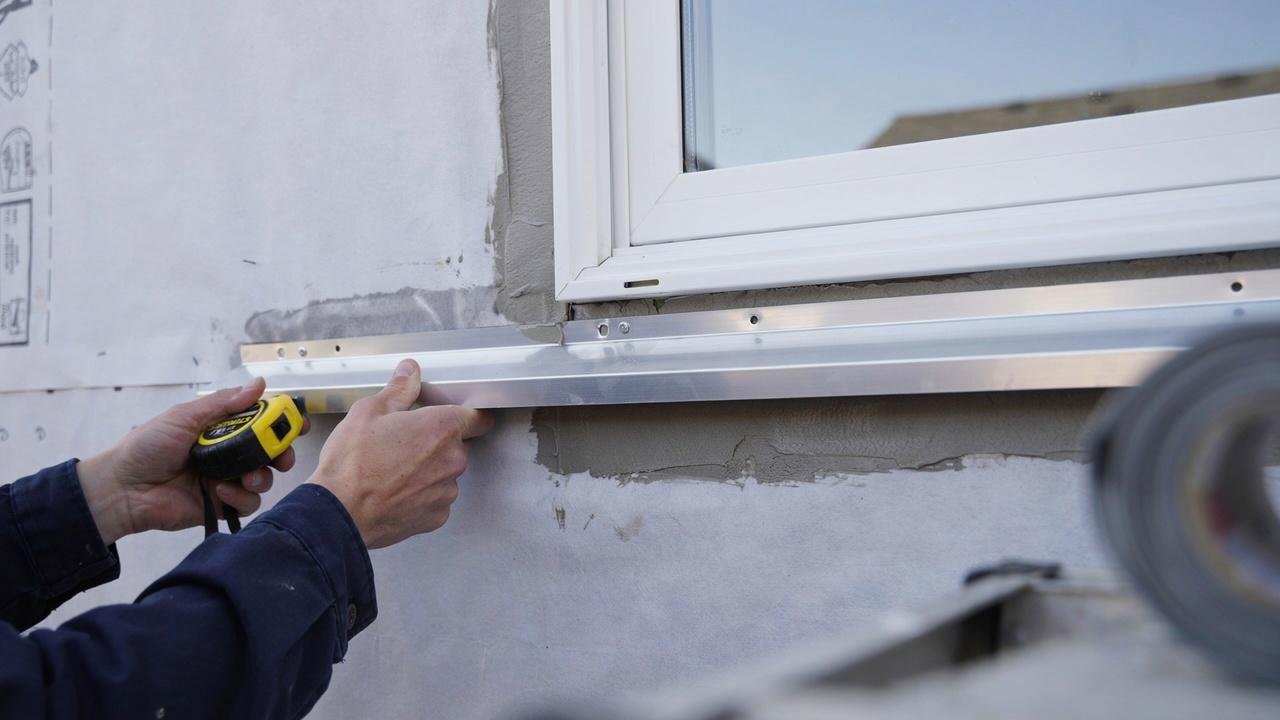
Start at the bottom, since this piece supports water runoff from the sides and top. Slide it under the sill so it sits flush against the wood.
Nail along the top edge only, leaving the bottom free so water can drain.
Step 7: Attach the Side and Top Pieces
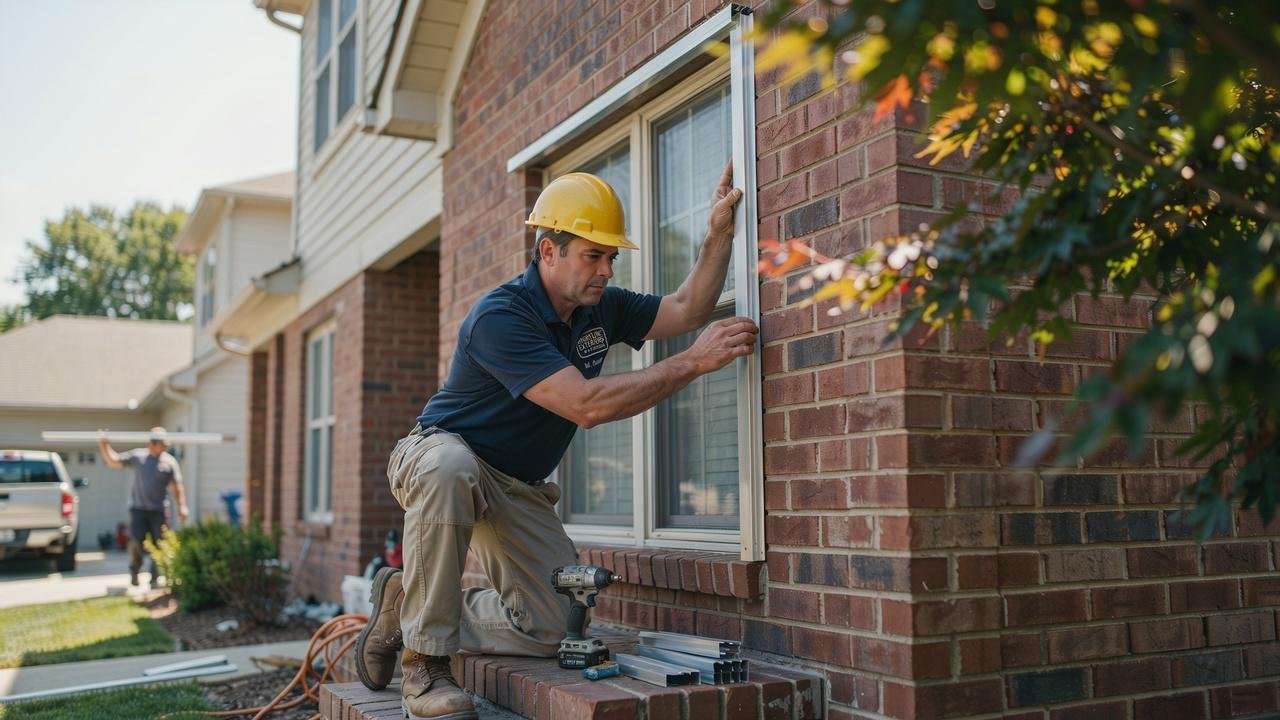
Fit the side pieces next, overlapping slightly with the bottom piece.
Nail the top edge of each side piece, leaving the lower edge unattached.
Finish with the top piece overlapping the sides, so water keeps moving down and away from the wood.
Step 8: Seal the Seams With Caulk
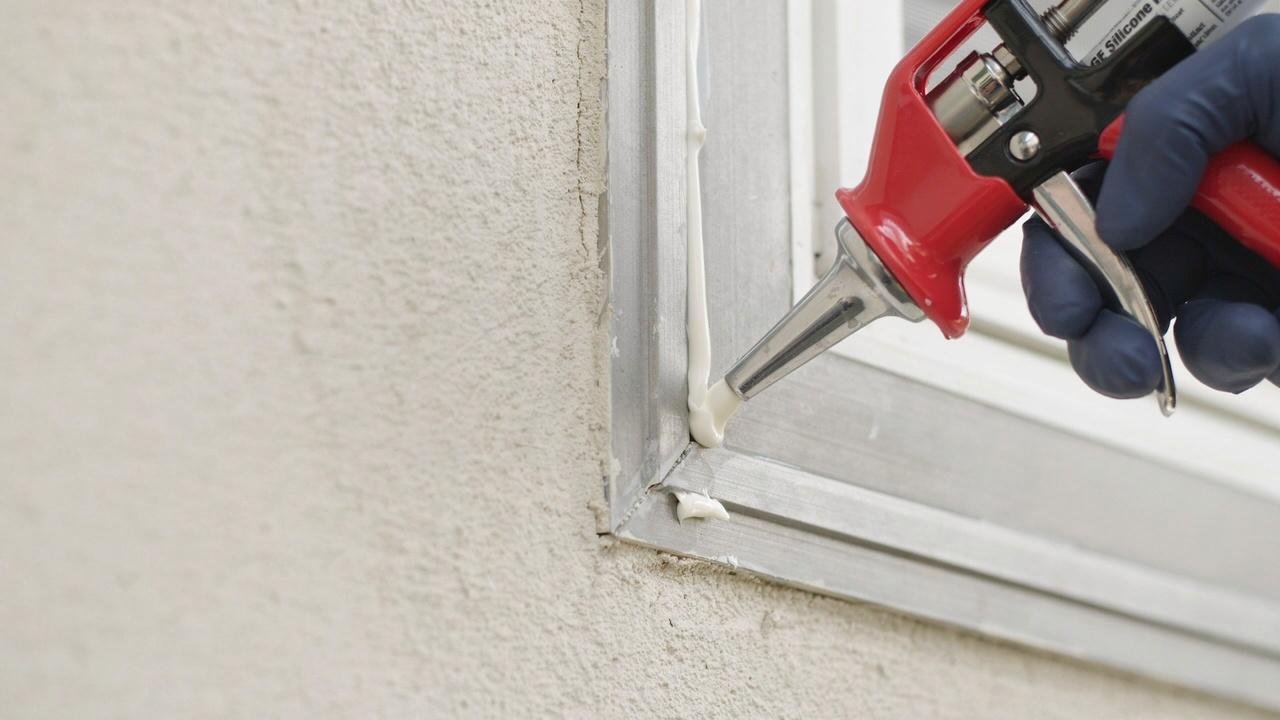
Run a bead of exterior caulk along every seam and corner, smoothing it with a gloved finger or caulk tool.
Let the caulk cure fully before it faces rain, closing off any small gaps left from cutting and bending.
Best Practices for Capping Windows With Aluminum
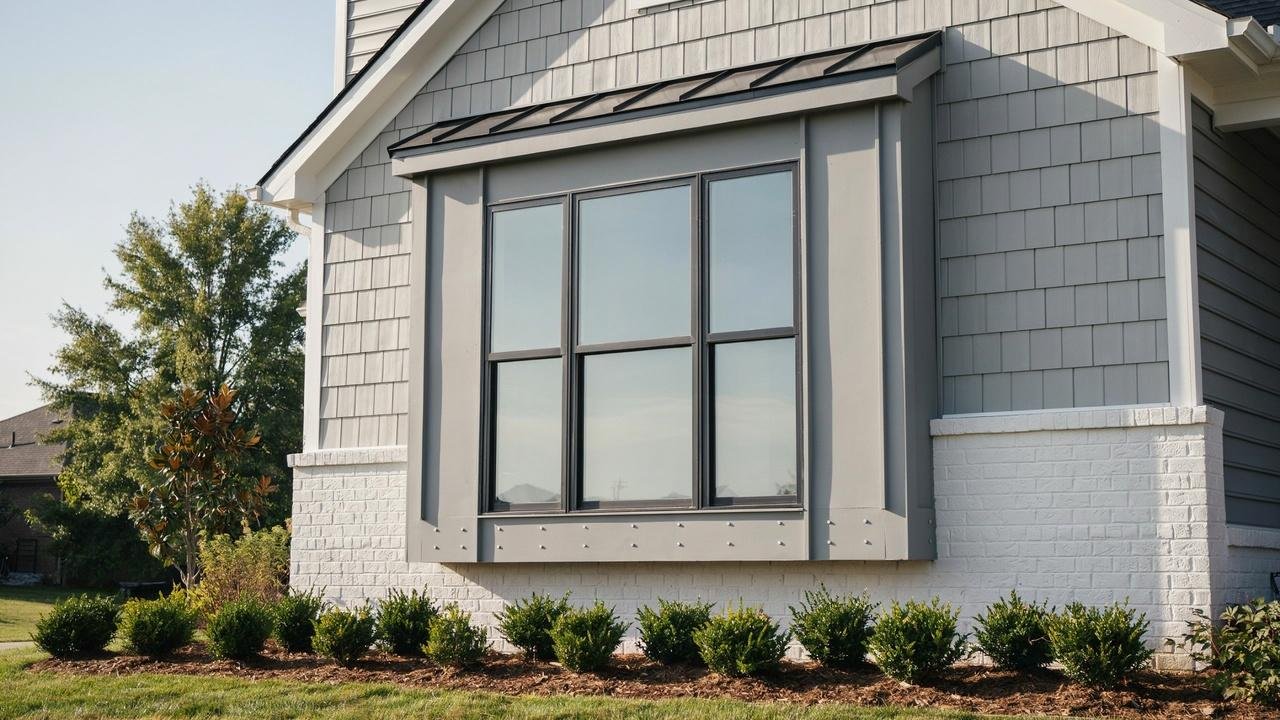
These habits help the finished capping perform well for years without trapping water or pulling loose.
Install pieces bottom first so water flows down and off the structure, and check the sill slope to avoid pooling.
Keep weep holes clear, notching the aluminum if needed, since blocking them traps moisture inside.
Avoid over-nailing, since too many nails can warp the metal a few along the top edge of each piece is enough, leaving the bottom and sides free to drain.
Finally, pick coil stock with a baked-on finish rated for sun exposure, since it resists fading far longer than a basic mill finish.
DIY vs Professional Aluminum Window Capping
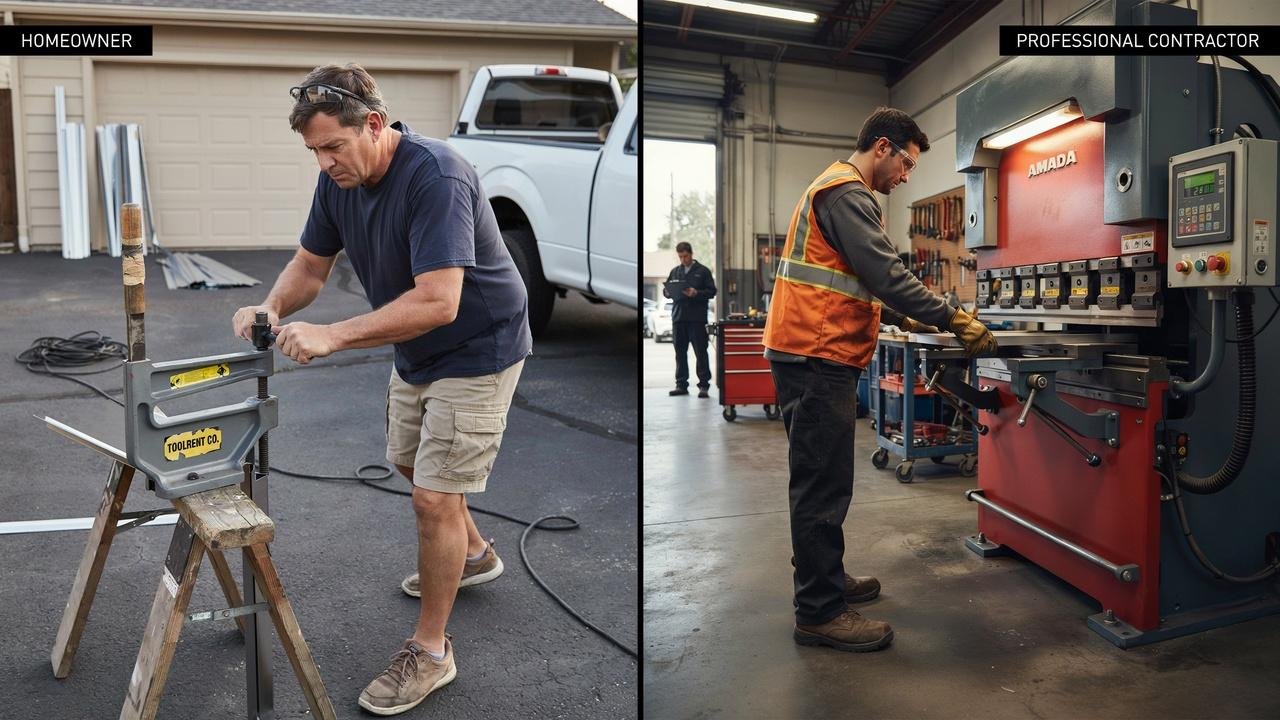
This section compares doing the work yourself against hiring a contractor, along with rough cost expectations.
When DIY Is a Good Option
Homeowners with basic tool experience and a few windows to cover can often handle this themselves.
A weekend and a rented or borrowed break are usually enough for a small house, and skipping labor costs saves a good chunk of the total price.
When to Hire a Professional
Larger homes, oddly shaped trim, or extensive wood damage are often better left to a professional, who also has access to commercial-grade brakes for tighter bends.
If ladder work at height feels unsafe, that's reason enough to call in help.
Typical Installation Costs
Material costs are fairly low compared to labor, so most of the price gap between DIY and hiring out comes from the time a crew saves.
Costs vary by region and window count, so getting a few quotes is worth doing before committing.
Common Mistakes to Avoid
This part points out frequent errors that lead to leaks, rot, or a poor-looking finish.
- Installing over rotten wood: Aluminum hides the problem instead of fixing it. Always repair or replace damaged wood first.
- Trapping moisture behind the capping: Sealing every edge tight leaves water with nowhere to go. Leave the bottom of each piece open to drain.
- Using incorrect measurements: A piece off by even a quarter inch can leave a gap or fail to overlap. Measure each window separately.
- Overusing caulk: Heavy globs crack and look messy. Use just enough to close the gap, smoothed evenly along the seam.
Tips for Long-Lasting Aluminum Window Capping
This final section covers simple upkeep steps that keep the capping looking good and working well for years.
- Check seams once or twice a year for cracks or gaps in the caulk, before they turn into water damage.
- Walk the house each spring or fall to catch small problems early.
- Wash with mild soap and water using a soft cloth. Skip harsh chemicals or abrasive pads, which can scratch the finish.
- Rinse with a garden hose after washing to clear off soap residue.
- Inspect after storms for dents, loose pieces, or pulled nails, and fix small issues right away.
Conclusion
I've seen what happens to wood trim that gets ignored for a few too many winters, and it's not pretty.
Aluminum window capping is one of those projects that pays you back every single year you skip a repaint.
Take your measurements twice, work patiently with the brake, and don't rush the caulk. Your windows will thank you for it.
Have you tackled aluminum window capping on your own home? Drop a comment below and share how it went, or pass this guide along to a friend who's planning the same project this season.
Frequently Asked Questions
How long does aluminum window capping last?
Most aluminum capping lasts twenty to thirty years with basic care. Regular cleaning and seam checks help it last even longer.
Can I install aluminum capping myself without a metal brake?
A brake gives the cleanest bends, but some smaller jobs can work with careful hand bending. For a tight, even fit, renting or borrowing a brake is still the better choice.
Does aluminum capping cause any damage to window frames?
No, when installed correctly it protects the wood underneath from rain and sun. Problems only happen when weep holes get blocked or moisture gets trapped behind the metal.
What gauge of aluminum is best for residential window capping?
Most homeowners use a thinner gauge since it bends easily by hand or with a basic brake. Thicker gauge is sturdier but harder to work with on a small home project.
How often should I check my aluminum capping for problems?
A walk around the house once or twice a year is usually enough. Checking again after any major storm helps catch damage before it spreads.