Have you ever looked at your basement window and wondered how you'd get out in an emergency?
That's exactly what an egress window well solves. I've worked on a few of these installations myself, and I can tell you that getting it right matters more than people think.
A poorly installed window well can lead to flooding, soil shifting, or even failed inspections. But don't worry, this isn't as complicated as it sounds.
In this guide, I'll walk you through everything step by step. From picking the right spot to securing the final cover, you'll learn exactly what to do and what mistakes to avoid along the way.
Let's get into it.
What Is an Egress Window Well?
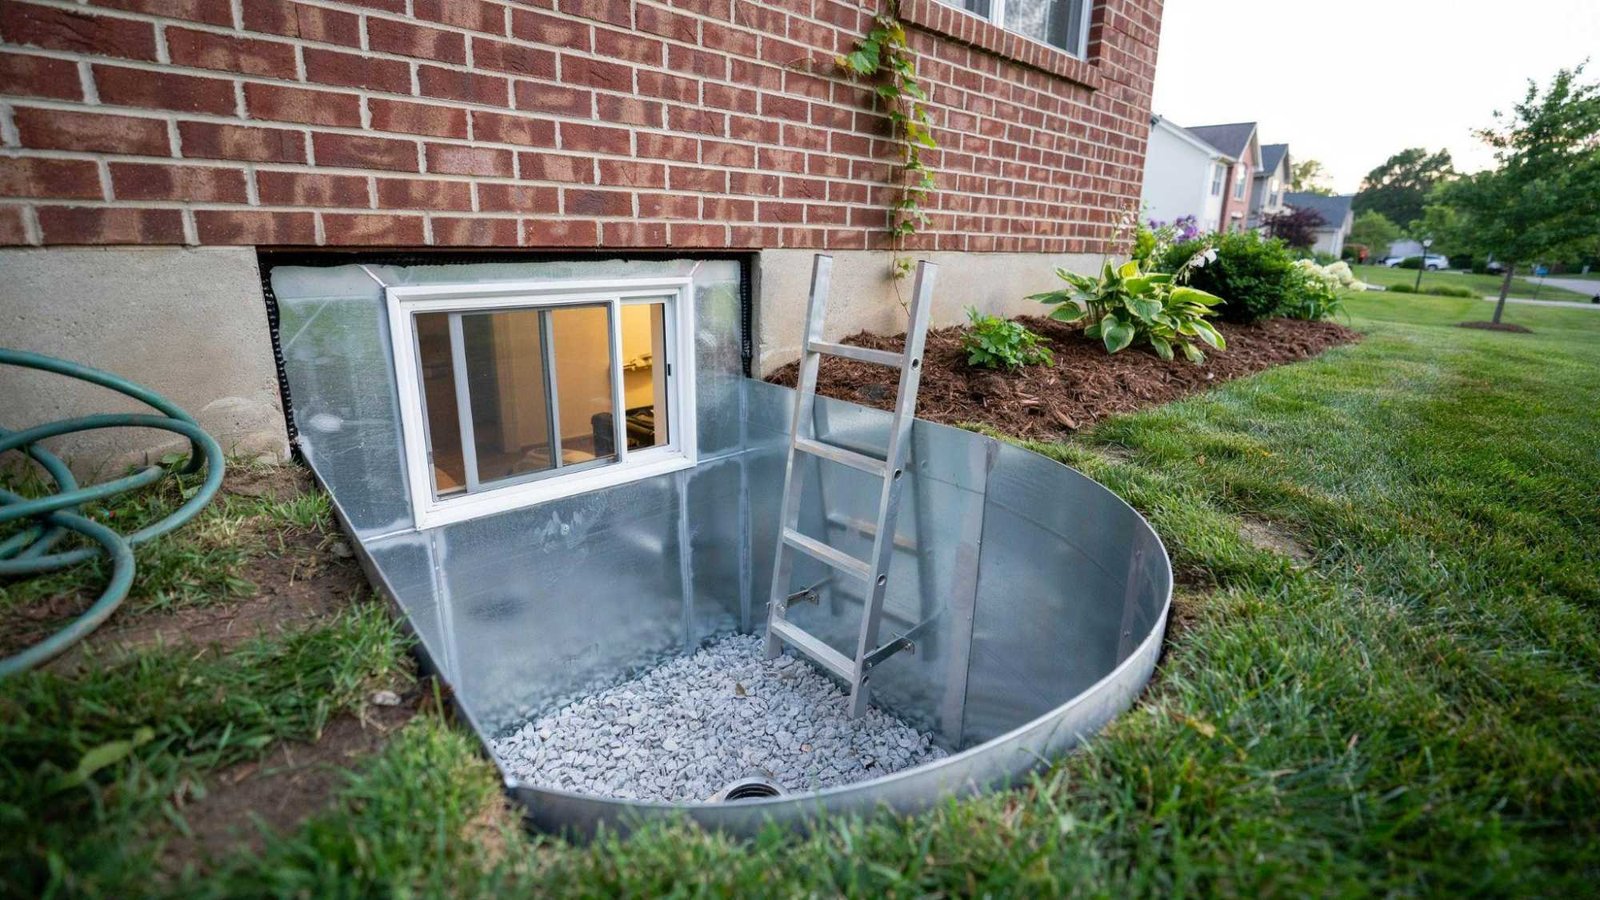
An egress window well is a metal or plastic enclosure built around a basement window that sits below ground level. It creates a safe exit point during emergencies and lets in natural light.
Correct installation is critical for safety, drainage, and avoiding structural problems. Most building codes require a minimum well size, a window large enough to climb through, and a permanent ladder or steps for wells deeper than 44 inches.
Always check local codes before starting your project.
Before You Start the Installation

Before digging, check your local building codes since requirements for window well size and depth vary by location. Get any required permits to avoid fines or issues later.
Call your local utility line service before digging to avoid hitting gas, water, or electrical lines.
Pick a window well location with good drainage, away from downspouts or low spots. Choose a well size that fits your window and meets code for emergency exits.
Tools and Materials Needed
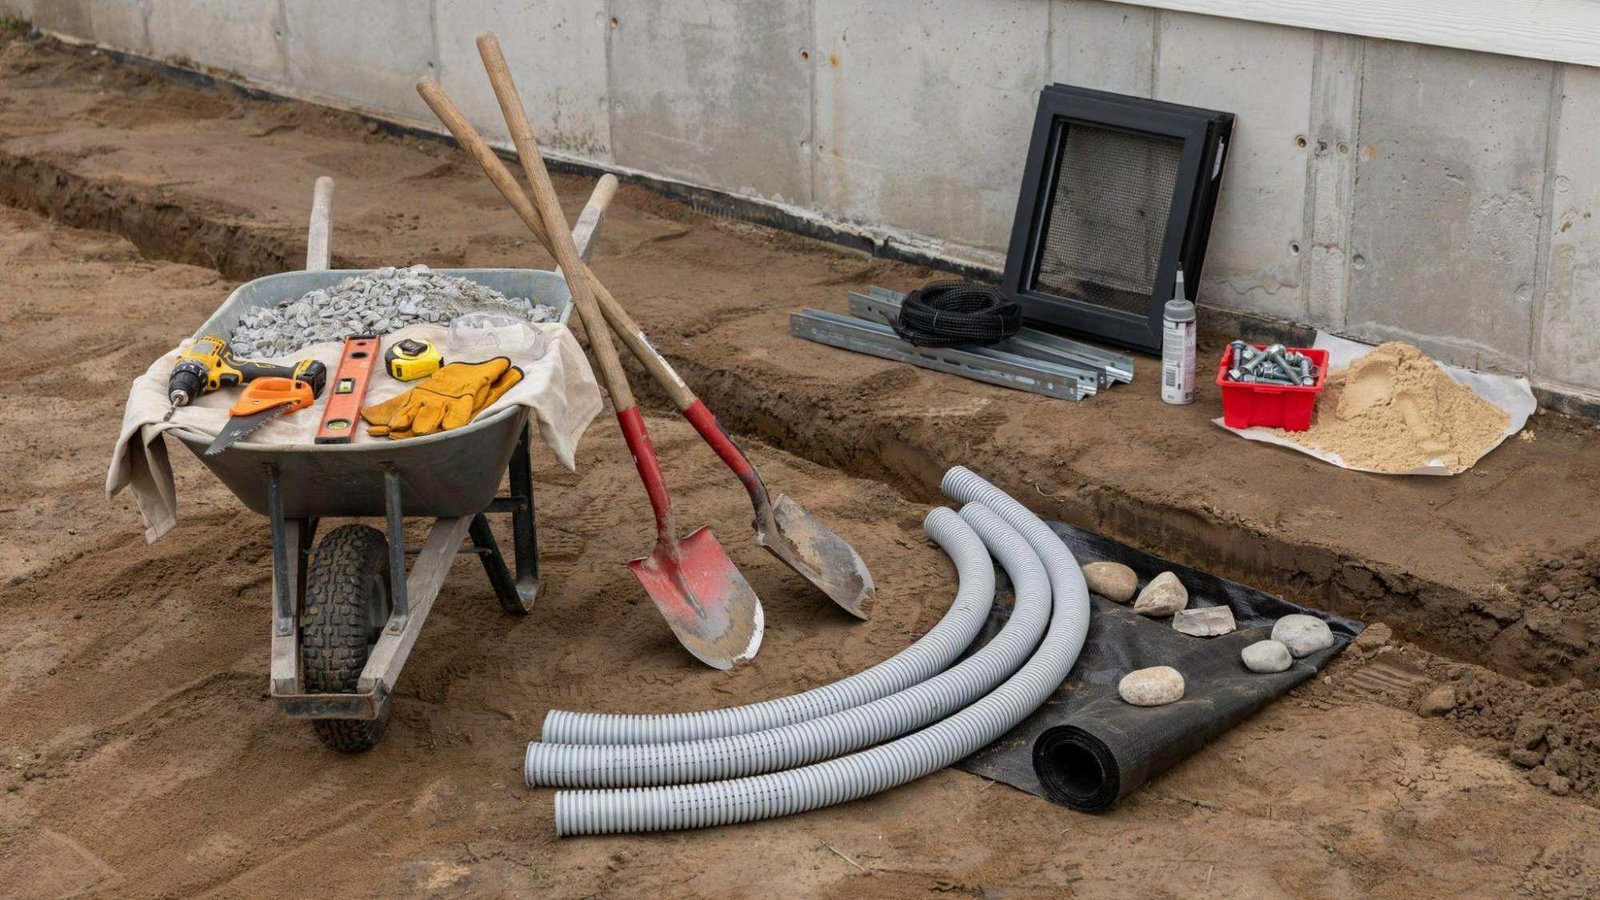
Have the right tools and materials ready before you begin. This makes the installation smoother and the result more durable.
Important Installation Tools
- Shovel and spade
- Level
- Tape measure
- Drill or impact driver
- Reciprocating saw (for window opening adjustments, if needed)
- Safety goggles and gloves
- Wheelbarrow (for moving soil and gravel)
Drainage and Backfill Materials
- Crushed gravel or stone (for the base and backfill)
- Drainage pipe or perforated pipe
- Landscape fabric
- Sand (for leveling)
- Sump pump connection materials (if draining into a sump system)
Fasteners, Sealants, and Covers
- Concrete anchors or screws
- Silicone sealant or exterior caulk
- Window well cover or grate
- Bolts and brackets to secure the well to the foundation
How to Install an Egress Window Well in 7 Steps
Follow these seven steps in order for a well that drains properly and holds up over time. Skipping a step can lead to flooding, shifting, or code issues later.
Step 1: Mark the Installation Area and Excavate the Site
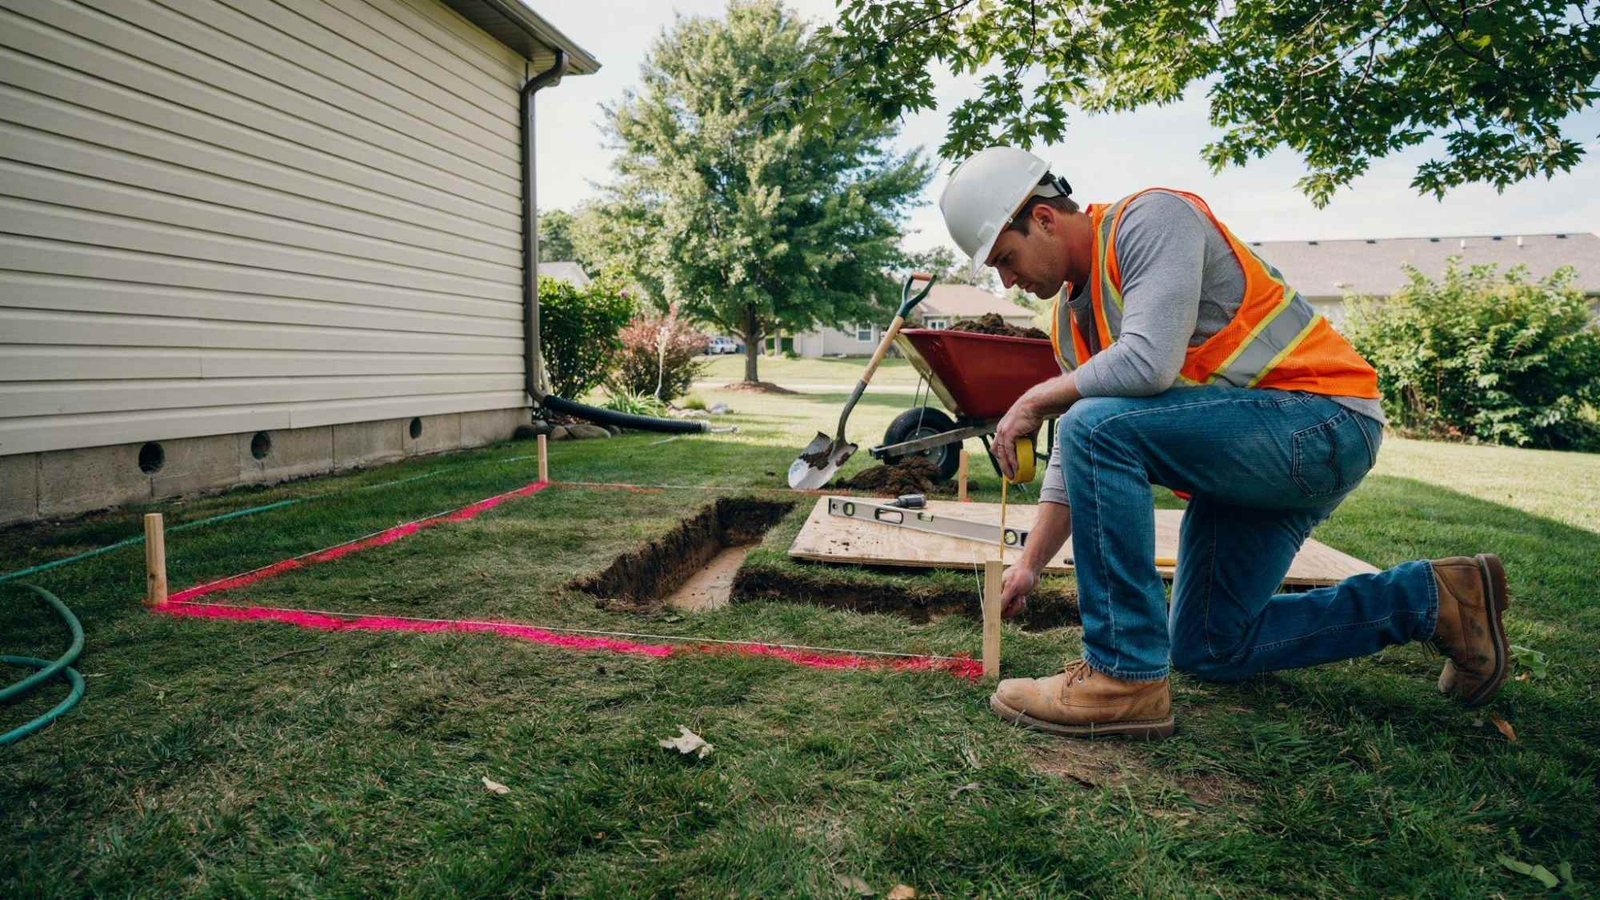
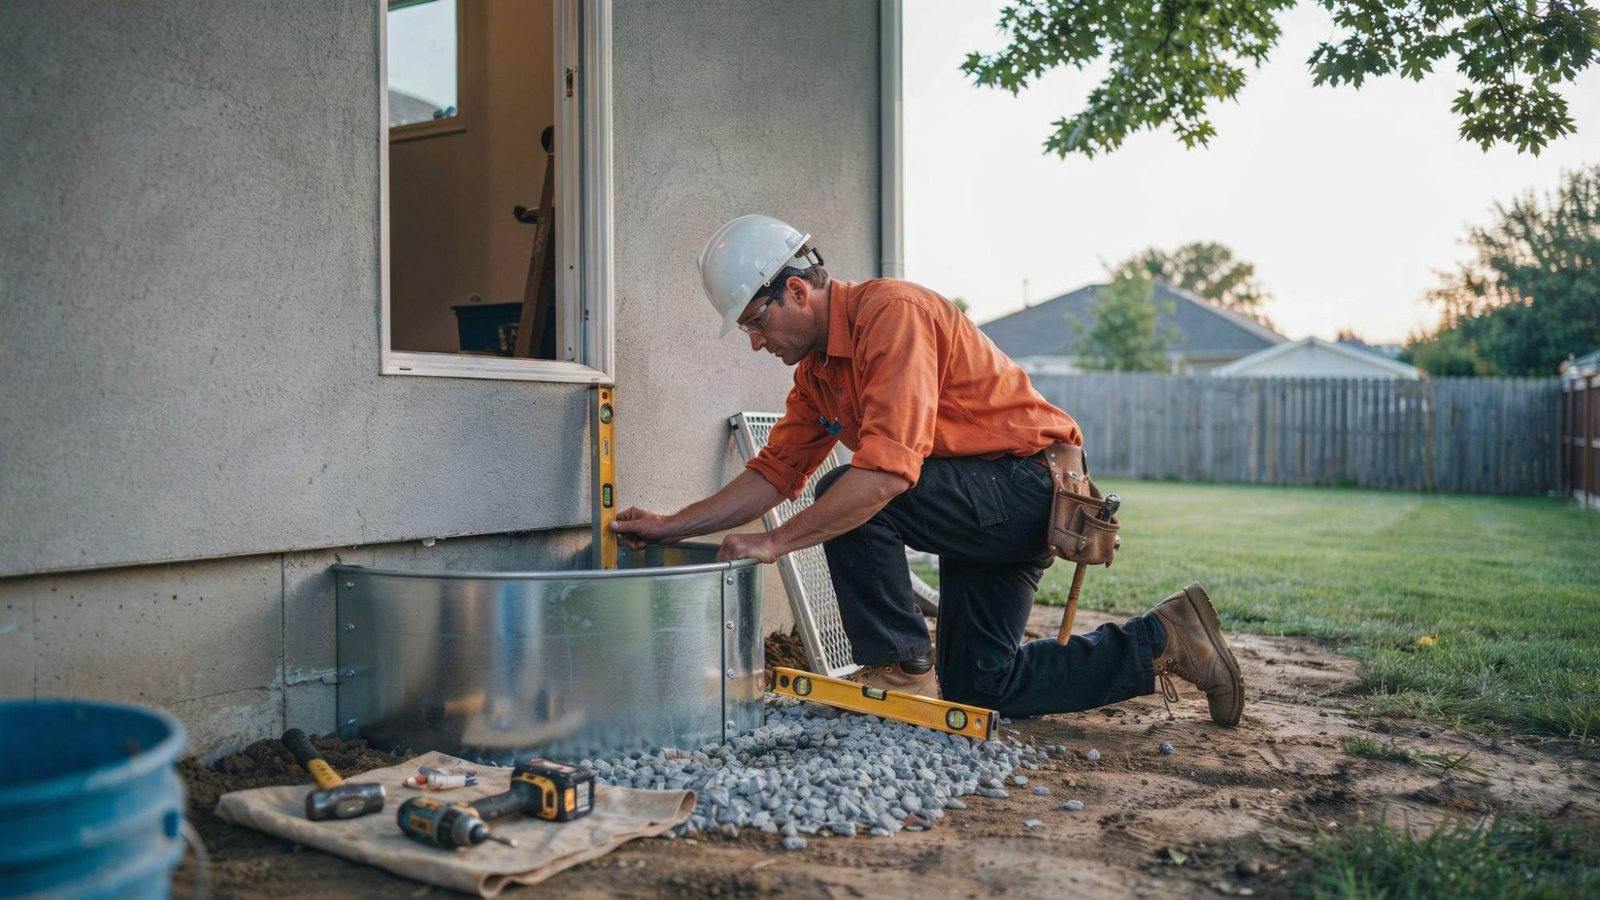
Find the centerline of your basement window and mark it on the ground outside. Use this mark to outline the well's shape.
Dig the hole to the depth and width required by your local code, leaving room for drainage stone and the well's curve against the foundation wall.
Step 2: Install the Egress Window
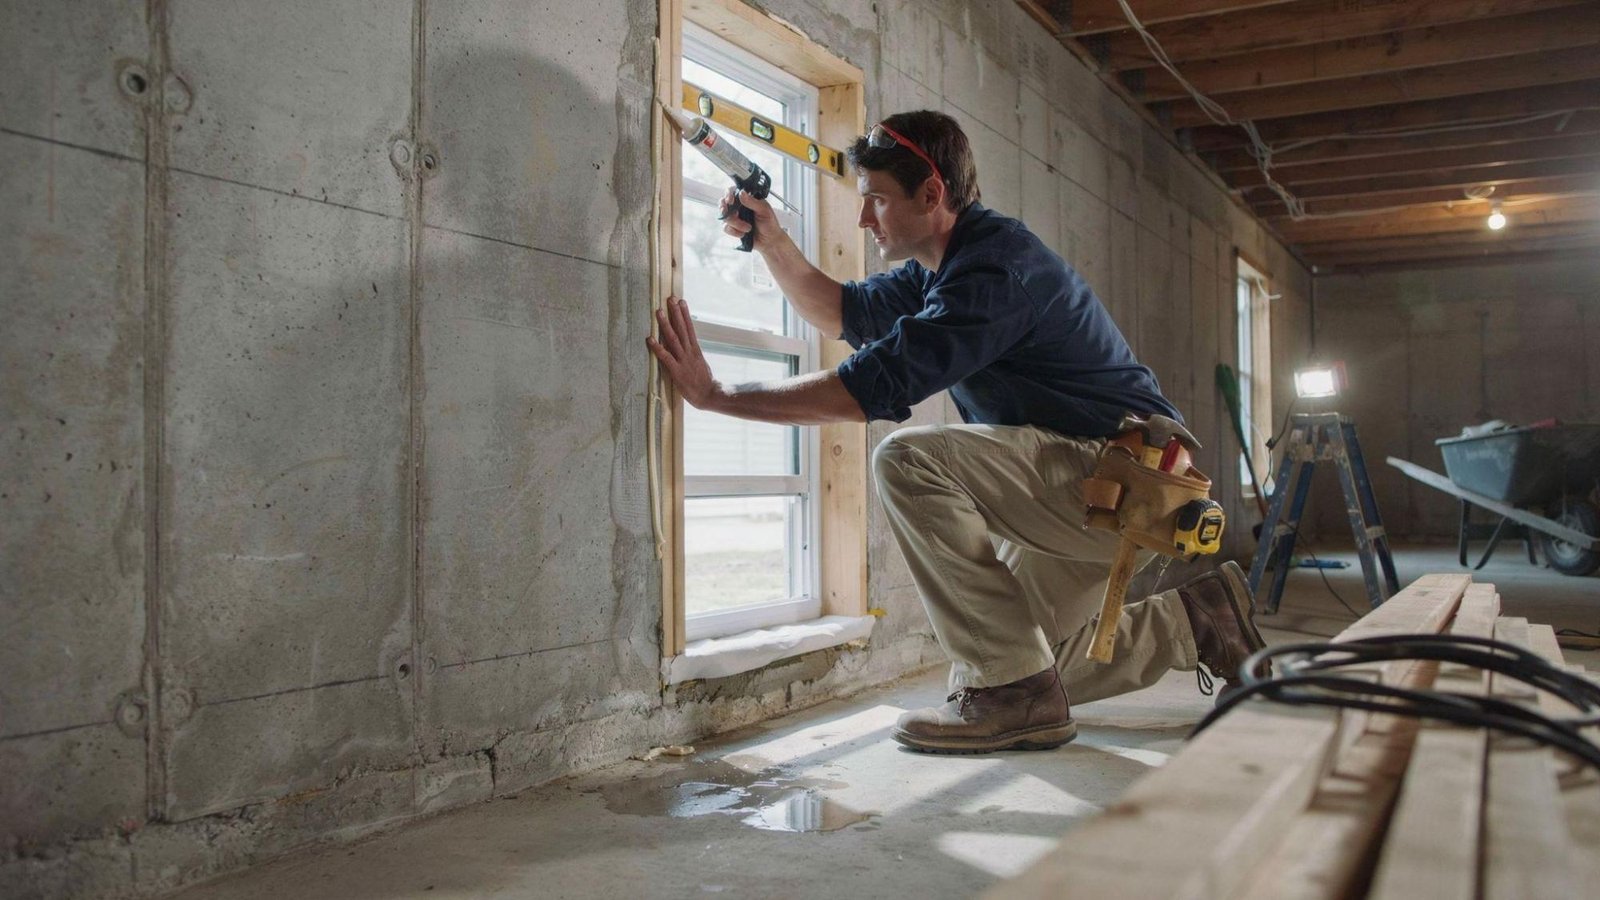
If you're adding a new window, cut the foundation opening to the correct size and frame it properly.
Set the window in place, check it sits level and square, then secure it with screws or anchors. Seal all edges to block water and air leaks.
Step 3: Install the Drainage System
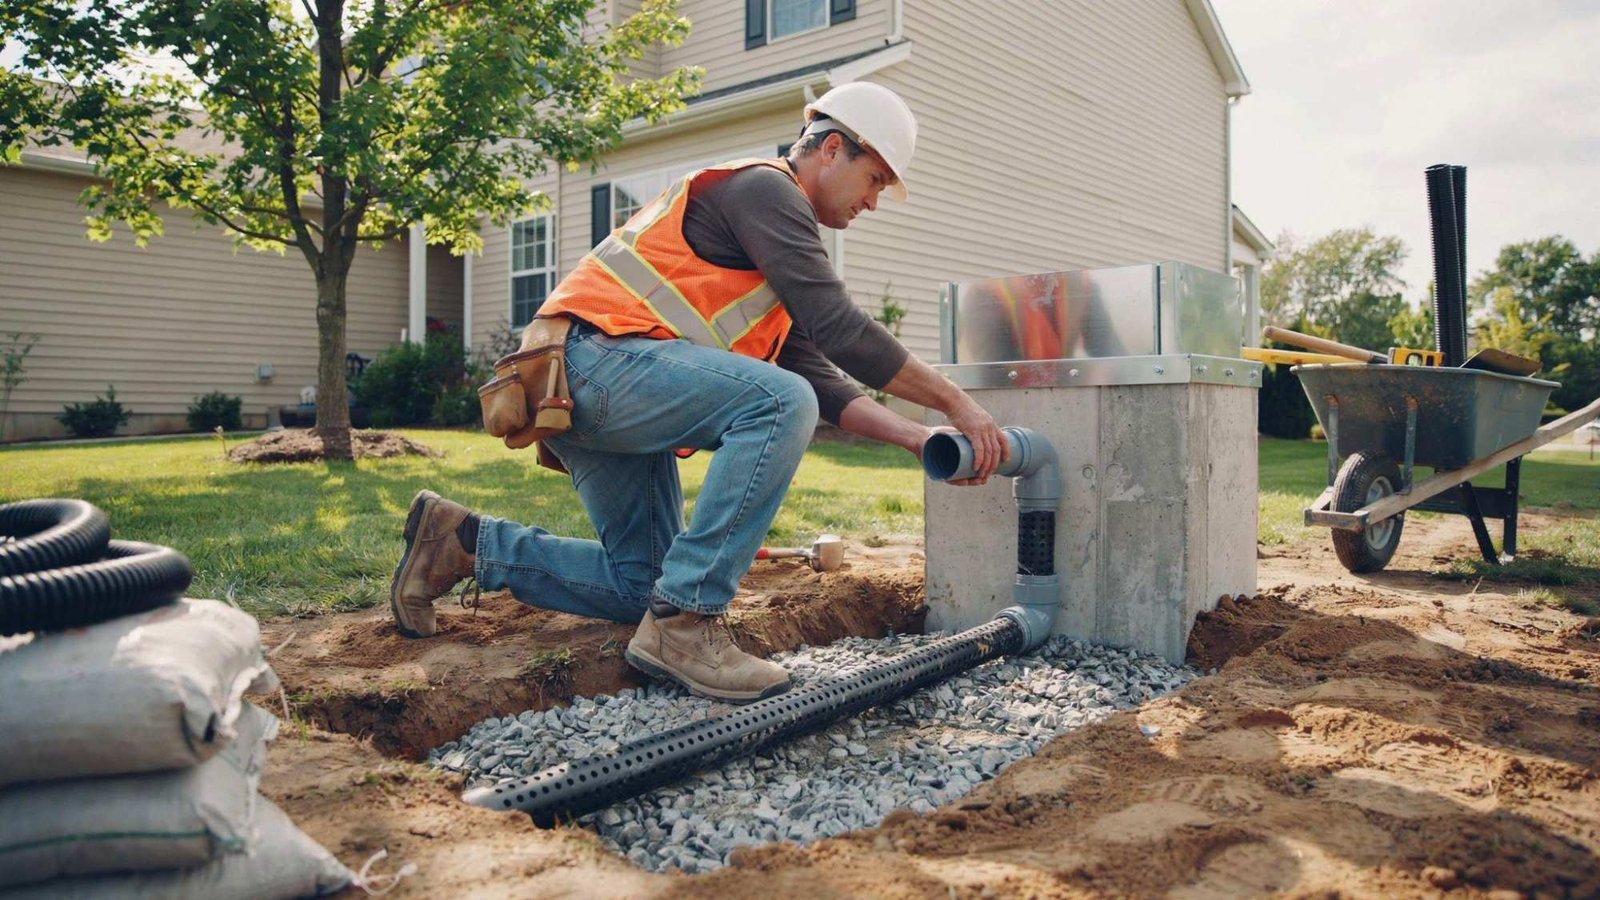
If your soil holds water or your area gets heavy rain, add a drain pipe at the base of the well.
Connect this pipe to your home's foundation drain or sump system so water moves away from the window instead of pooling inside the well.
Step 4: Prepare the Well Base
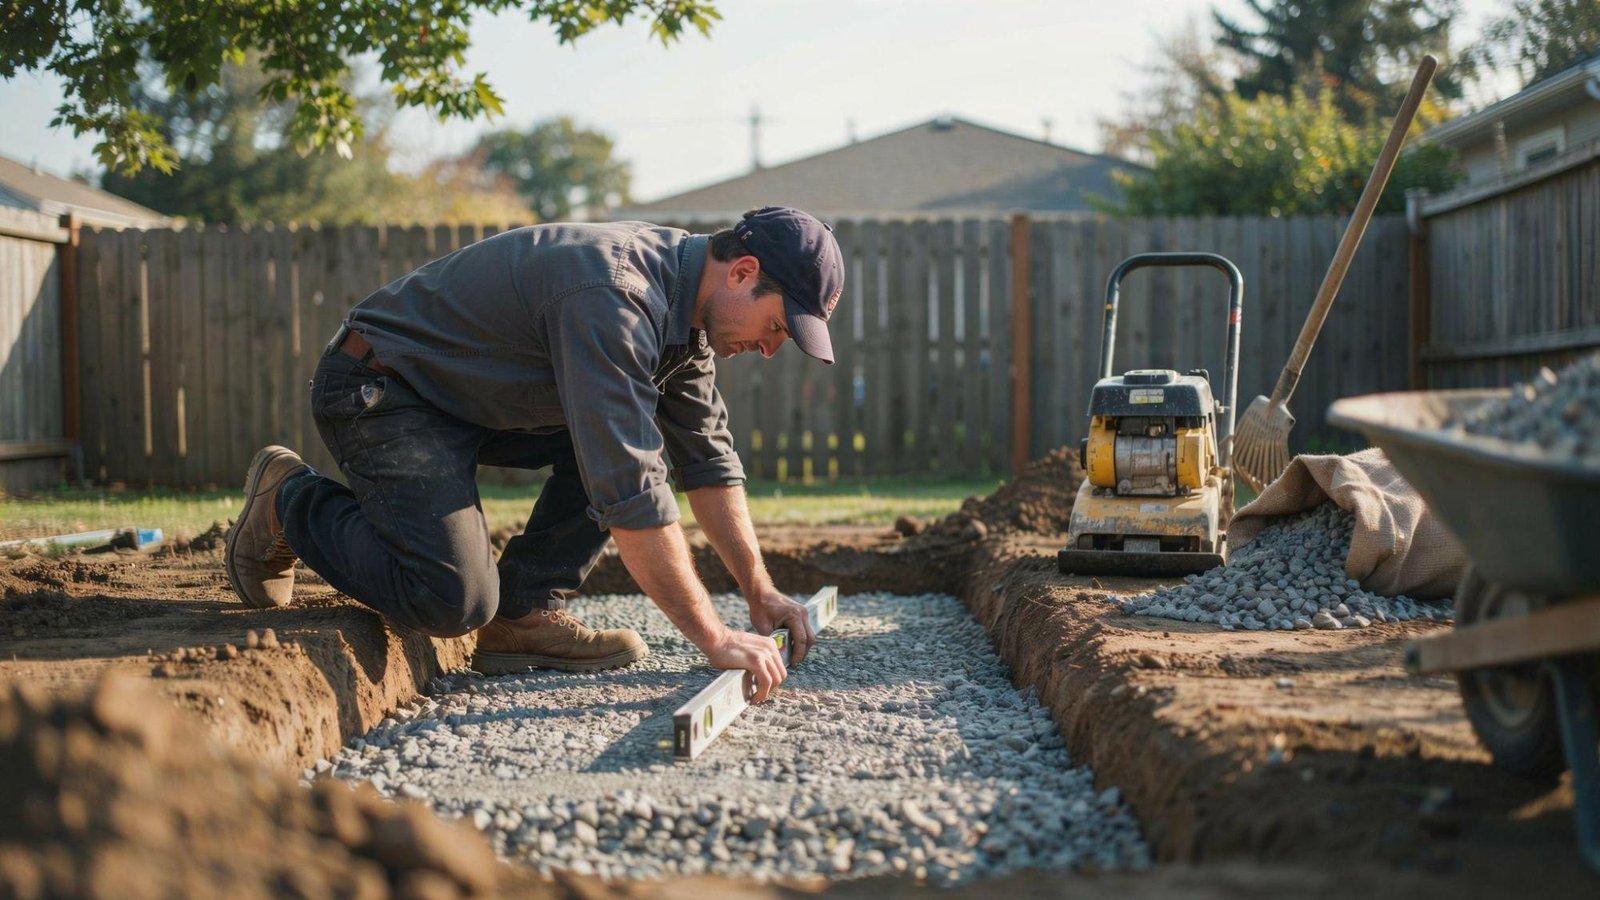
Pour a layer of coarse drainage stone into the bottom of the excavated hole. Spread it evenly across the full base area.
Use a level to check the surface, then compact it firmly so the window well sits on a stable, even foundation.
Step 5: Position and Secure the Window Well
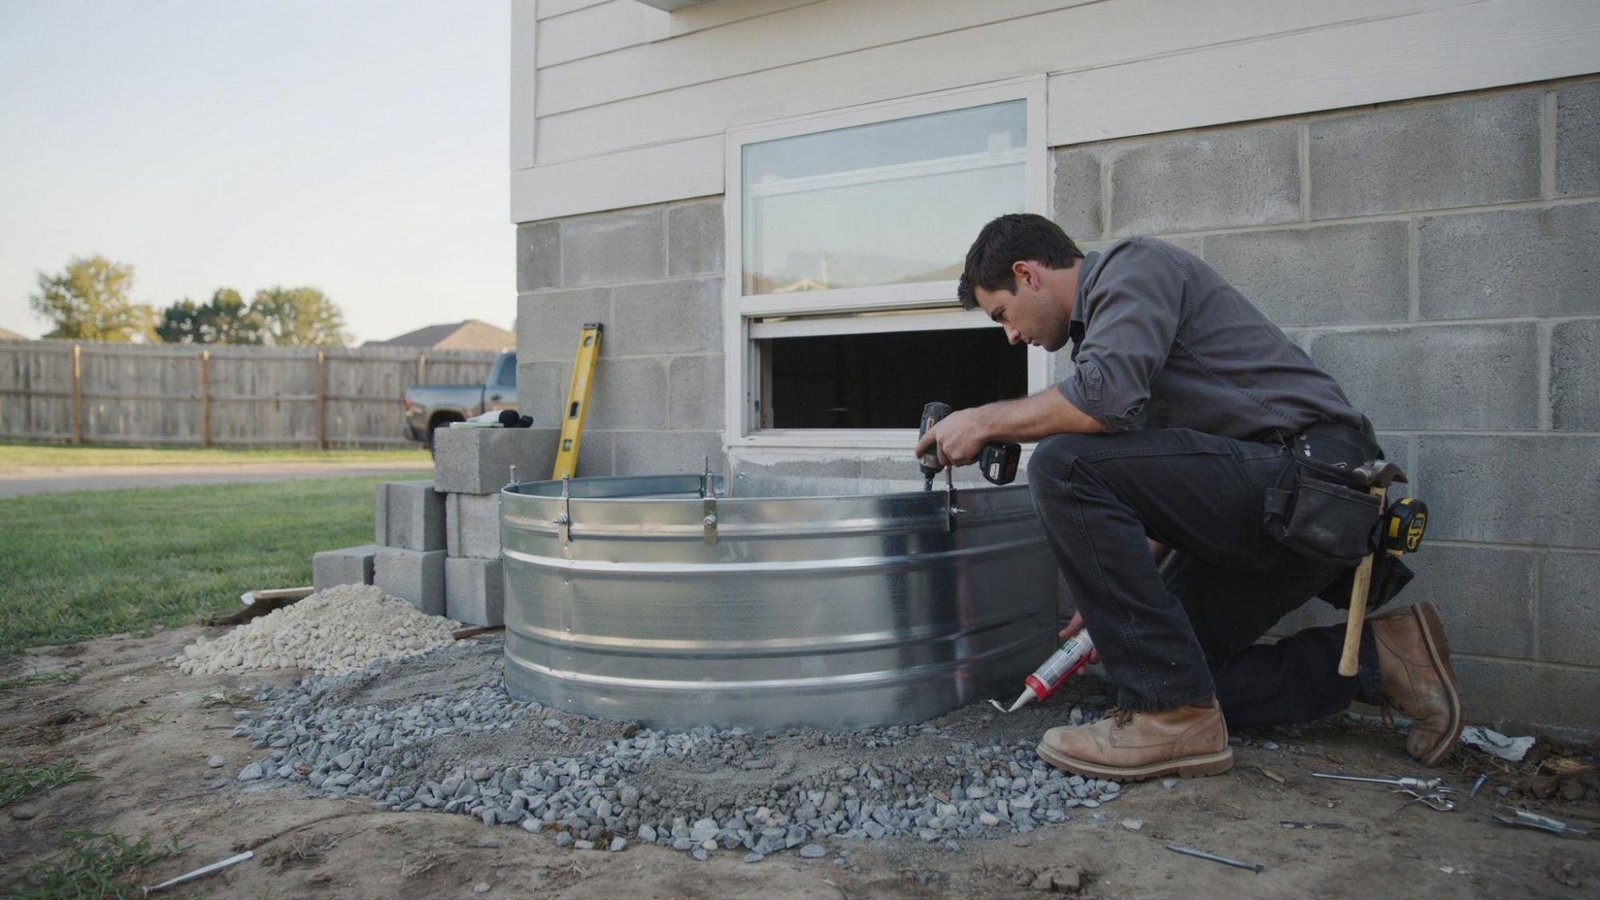
Lift the window well into place and line it up with the window opening so both edges match evenly.
Bolt or screw the well firmly to the foundation wall. Run sealant along the connection points to stop water from seeping behind it.
Step 6: Add Drainage Stone and Backfill Around the Well
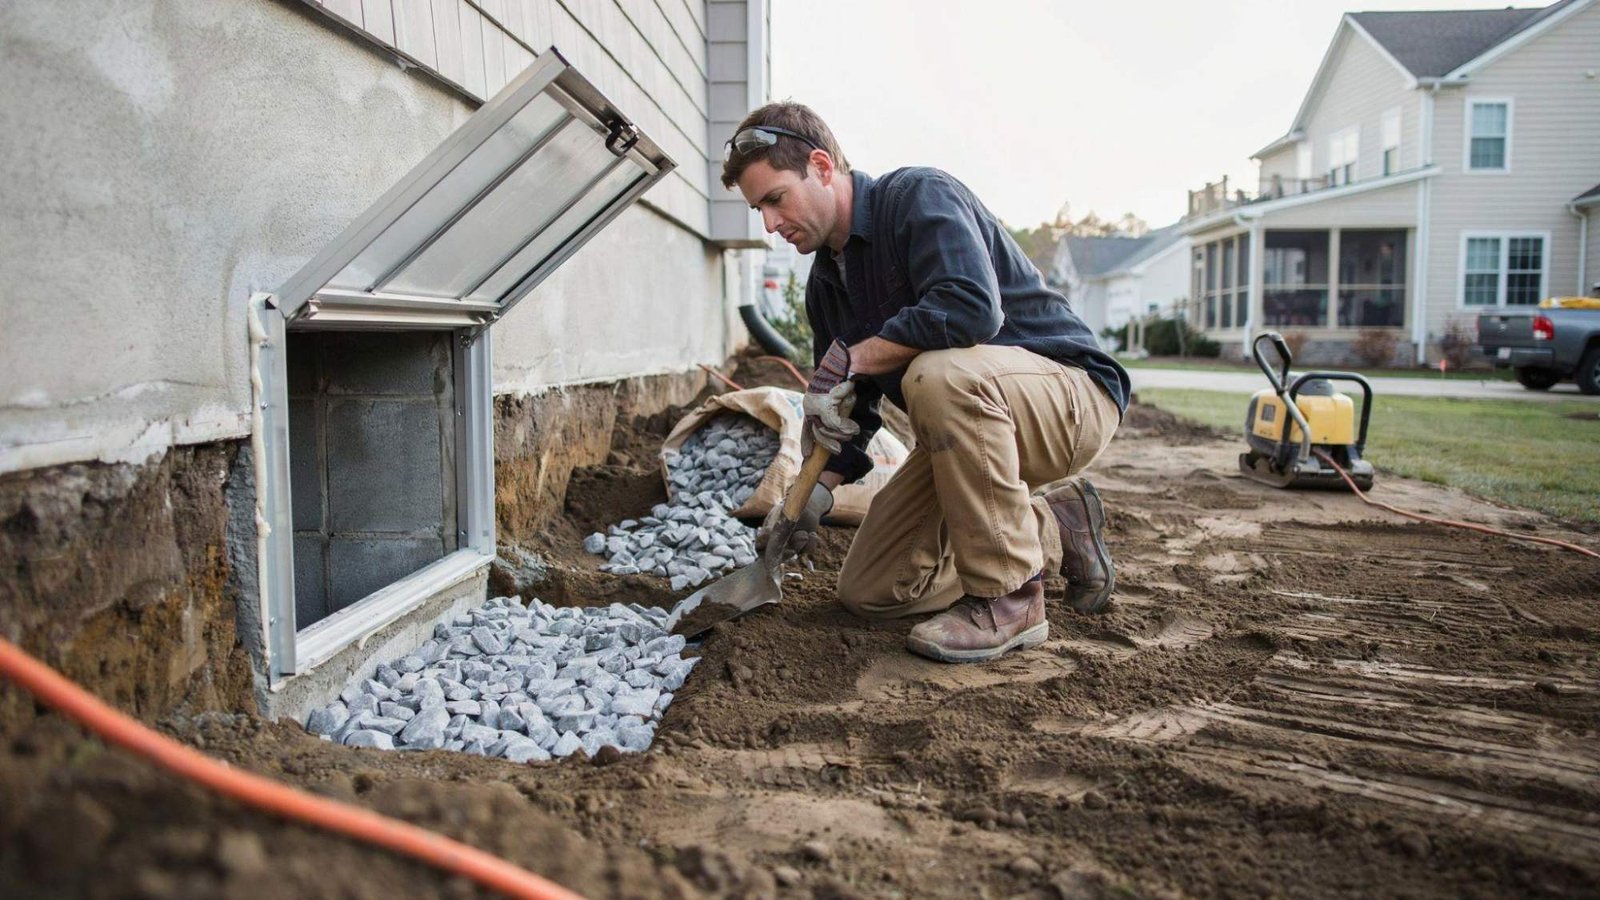
Fill the inside of the well with drainage stone so water has somewhere to go instead of sitting near the window.
Backfill the outside soil in small layers, packing each one down. Slope the final soil layer away from the foundation to direct water elsewhere.
Step 7: Install the Window Well Cover
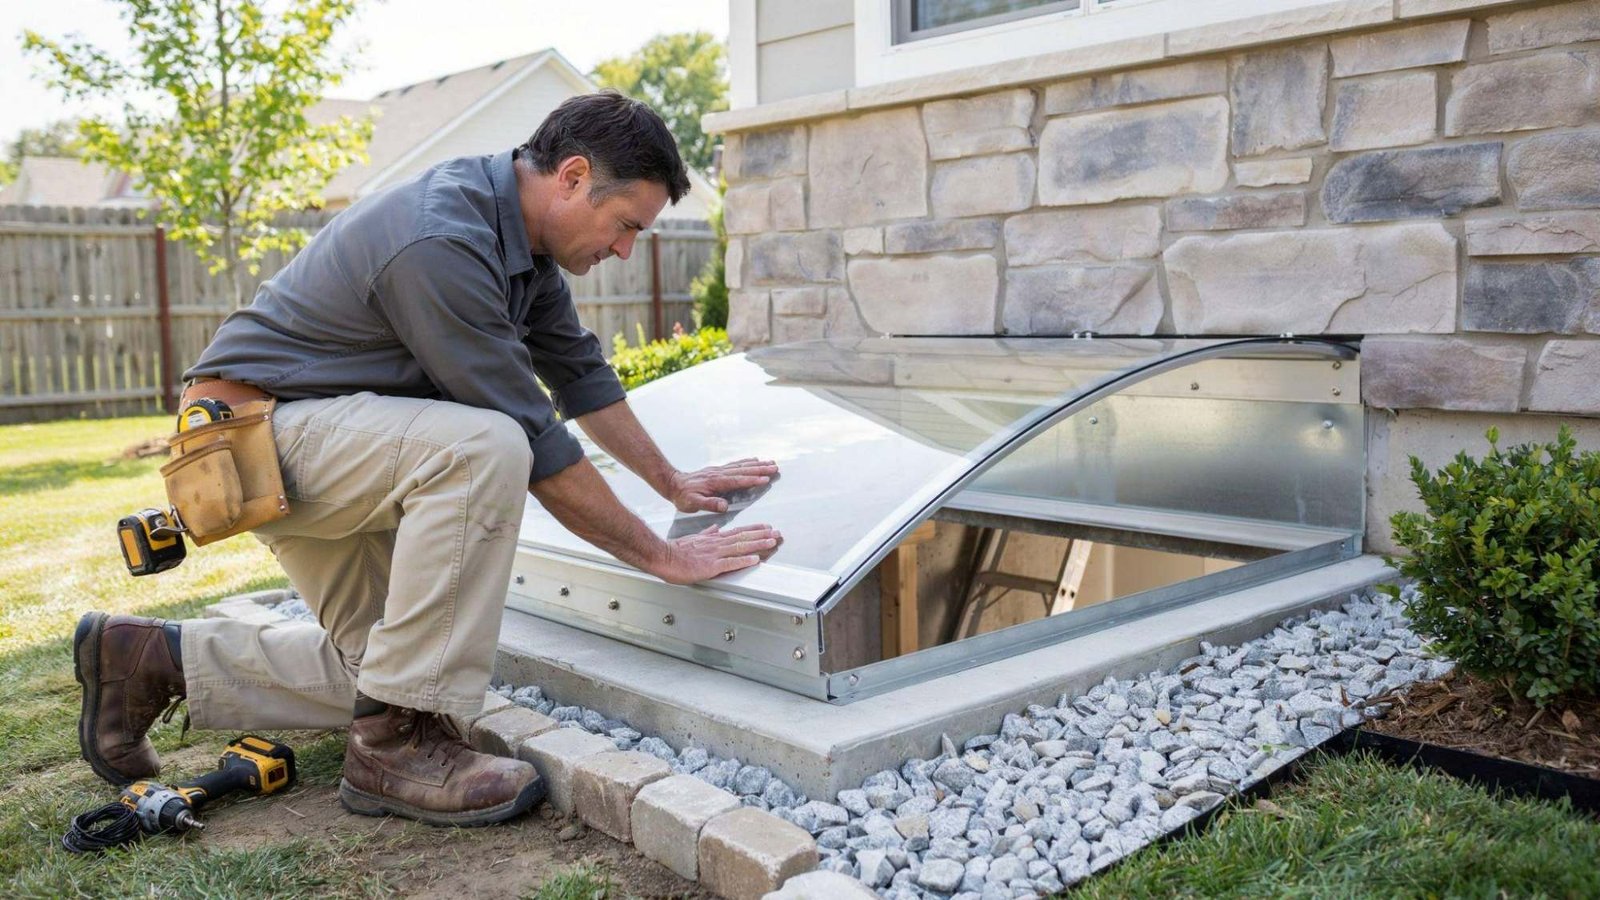
Place the cover or grate on top of the well and check that it fits snugly without gaps. Make sure it doesn't block emergency exit access. Once you're satisfied with the fit, lock or fasten it securely in place.
Common Egress Window Well Installation Mistakes to Avoid
Small mistakes during installation can cause big problems down the road. Here are the most common ones to watch out for.
- Skipping drainage prep often leads to water pooling inside the well. This can flood the basement or damage the window frame over time.
- Poor soil compaction causes the well to shift or sink later. A loose base won't hold the structure steady for long.
- Installing the well below grade lets surface water flow straight in. The top edge should always sit slightly above ground level.
- Using the wrong backfill material, like clay or topsoil, blocks proper drainage. Stick to coarse gravel or stone instead.
- Ignoring local code requirements during installation can lead to failed inspections. Always check size, depth, and ladder rules first.
Conclusion
Installing an egress window well takes patience, but it's a project most homeowners can handle with the right prep.
I've seen how skipping drainage or rushing the backfill causes problems years later, so take your time with each step. Check your codes, dig carefully, and don't cut corners on materials.
A well-built window well keeps your basement safe and dry for years. If you're still unsure about any step, talk to a local contractor before you start digging.
Ready to get started? Grab your tools, double check your permits, and begin your installation today.
Frequently Asked Questions
How deep should an egress window well be?
Most codes require a well at least 36 inches deep, but this depends on your window height and local rules. Always check with your local building department before digging.
Do I need a permit to install an egress window well?
In most areas, yes, a permit is required since this affects your home's structure and safety. Skipping this step can lead to fines or failed inspections later.
What size window well do I need?
The well must be wide enough for the window to open fully and allow easy exit. A common minimum is 36 inches by 36 inches, but check your local code for exact rules.
Do I need a ladder inside the window well?
Yes, if the well is deeper than 44 inches, a permanent ladder or steps are required by most codes. This ensures a safe way out during an emergency.
Can I install an egress window well myself?
Yes, many homeowners install one with basic tools and patience. However, hiring a professional is a good option if you're unsure about codes or digging near utility lines.